Building a Stand for My Wife’s New Computer
Preamble
Its been a couple of weeks since I built the computer. It needed a few tweaks to suit her needs. Now that’s done it was time to get it off the floor and tidy up the cables.
I decided on a simple solutions using materials I had on hand.
Tools and Equipment
I built the stand with 3/4 (19 mm) Plywood. I used these tools
- Fesstool MFT 3 table with Makita track and saw
- Makita driver and screw bit
- Delta orbital sander
Materials
- 3/4″ (19mm) plywood
- 1 3/4 ” wood screws
- 4 locking casters
- Red Devil ONETIME spackling compound (to fill the screw holes)
- Benjamin Moore Insl-X Cabinet Coat Urethane Acrylic enamel (Black)
The Build
The build was pretty straight forward. I cut
- the base to 11 by 22 inches
- the long side to 10 by 22 inches
- the ends to 10 3/4 by 11 inches
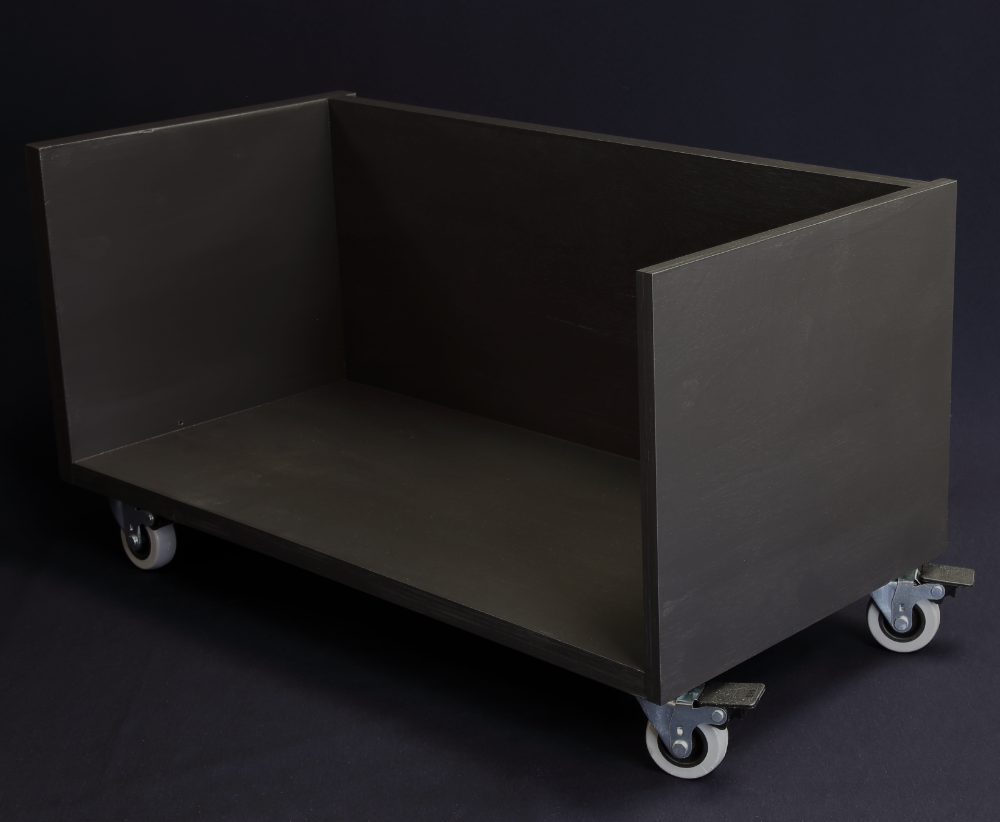
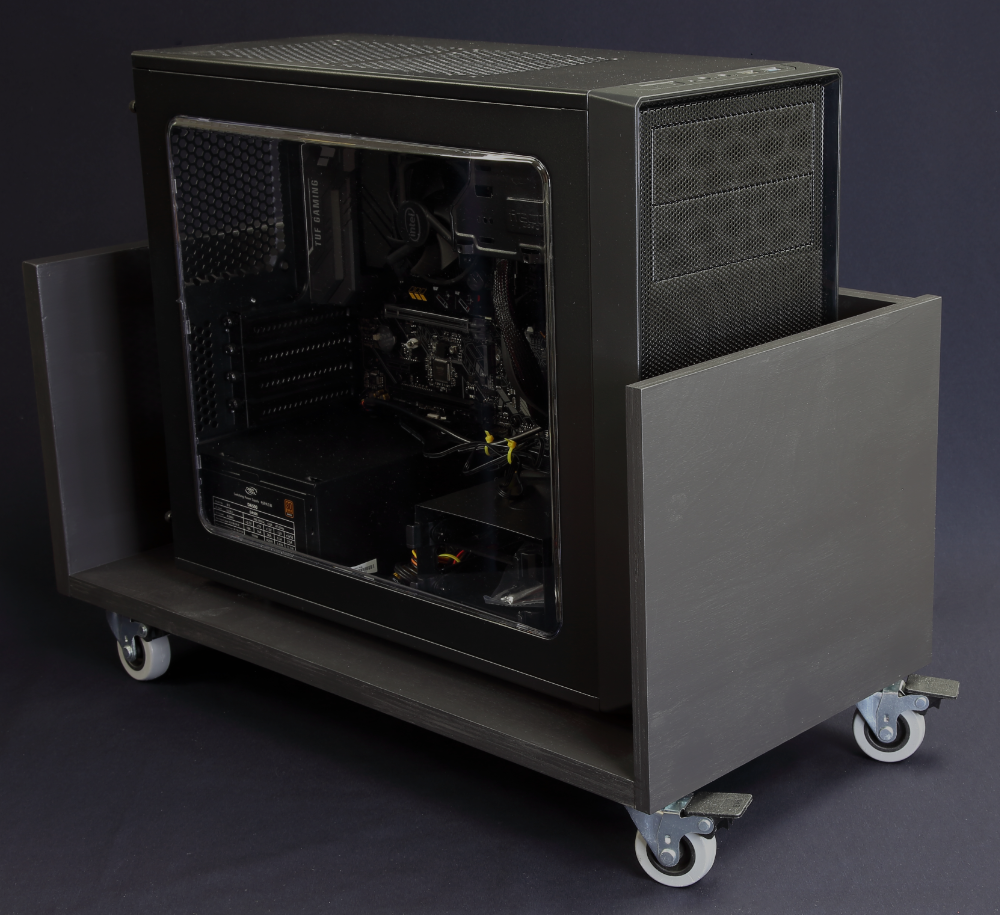
Assembly was simple butt joins fastened with glue and screws. If you look closely at the photos below, you may be able to see that the side panel sits on top of the base, and the end panels cover the ends of the base. If you look at the toip right corners of the ends you will see that it extends 12mm (1/2″) past the long side panels.
Screws were countersunk and the holes filled with the spackling compound. I did not apply edging to the plywood edges. I did fill any voids with the spackling compound. I relied on the paint to give a good result.
After sanding, the first coat of paint was applied. That was followed with a second sanding and a second coat of paint. The edges required a third sanding and coat of paint. The result was not as good as if i’d used edging, but perfectly acceptable for this use case.
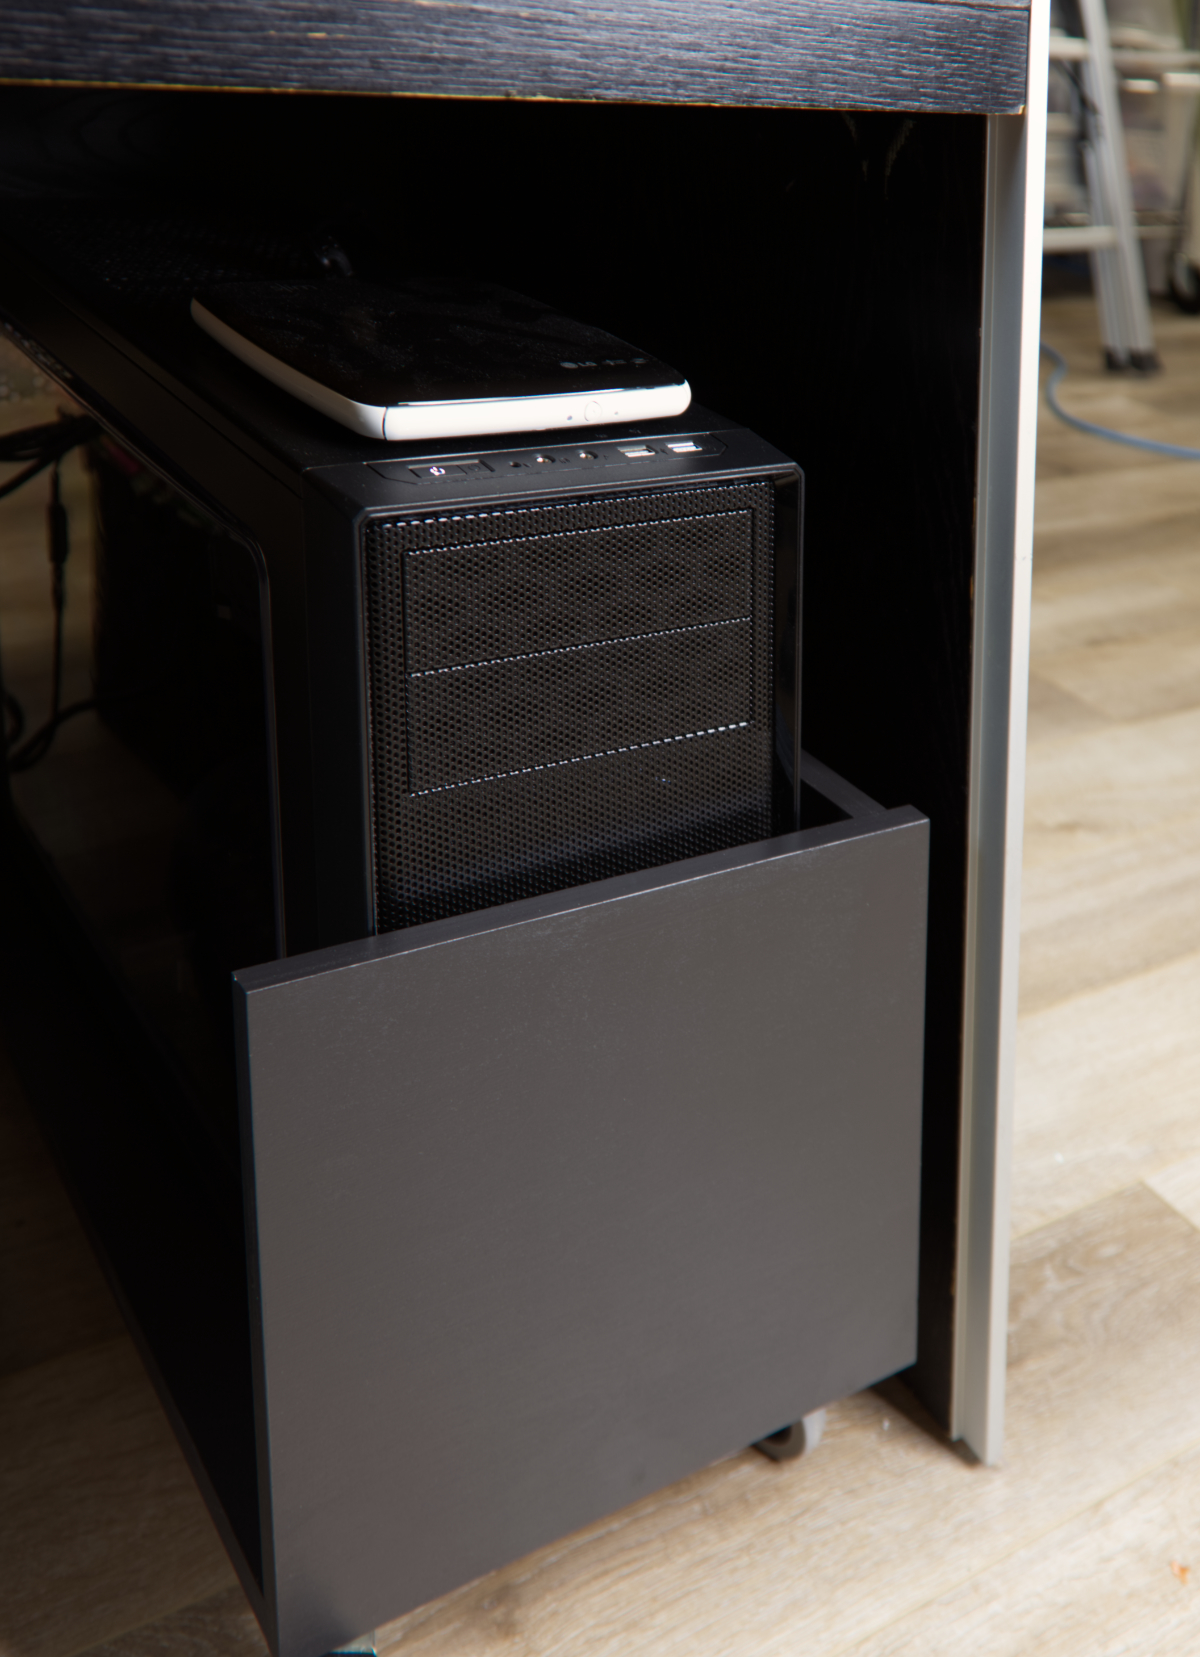
Here is the stand without and with the computer.


0 Comments