My First Laser Project
About the Project
I bought a laser cutter/engraver in March 2020. I’ll do a full post about that later. Although it was after a very prolonged period of researching and reviewing options, in the end it was a bit of an (expensive) impulse buy.
But this is about my first project. We bought this house 4 years ago, and embarked on a lengthy series of renovation / upgrade projects. The plumbing system was one such. I removed the typical one run plumbing setup and replaced it with a home run to each appliance and fixture, which of course required a couple of distribution manifolds. That, in turn, required a means of labeling each stop valve. So, my first laser project was born.
Tools and Materials
This is what i used. Clearly you can use any tools you have. The one thing to pay attention to is the ply. Some plywood is not ideal for lasering. There are voids, hard spots, inclusions and different types/thicknesses of glue. All this affects the density of the ply, which can vary considerably throughout the piece. That makes laser cutting and engraving more difficult with respect to getting the speed and laser power set correctly.
Tools
- Corel Draw: Plumbing layout, Labels design and laser files
- Trotec RayJet 50: Laser Cutting and Engraving
- Fesstool MFT and Makita Track and Track Saw: Stock prep to fit in the laser
- Digital Caliper: Used for measurments to create the lable drawings
Materials
- I/8 ” Birch veneered wood: Laserable plywood from Trotec (Sample materials that came with the laser)
Manifold Design
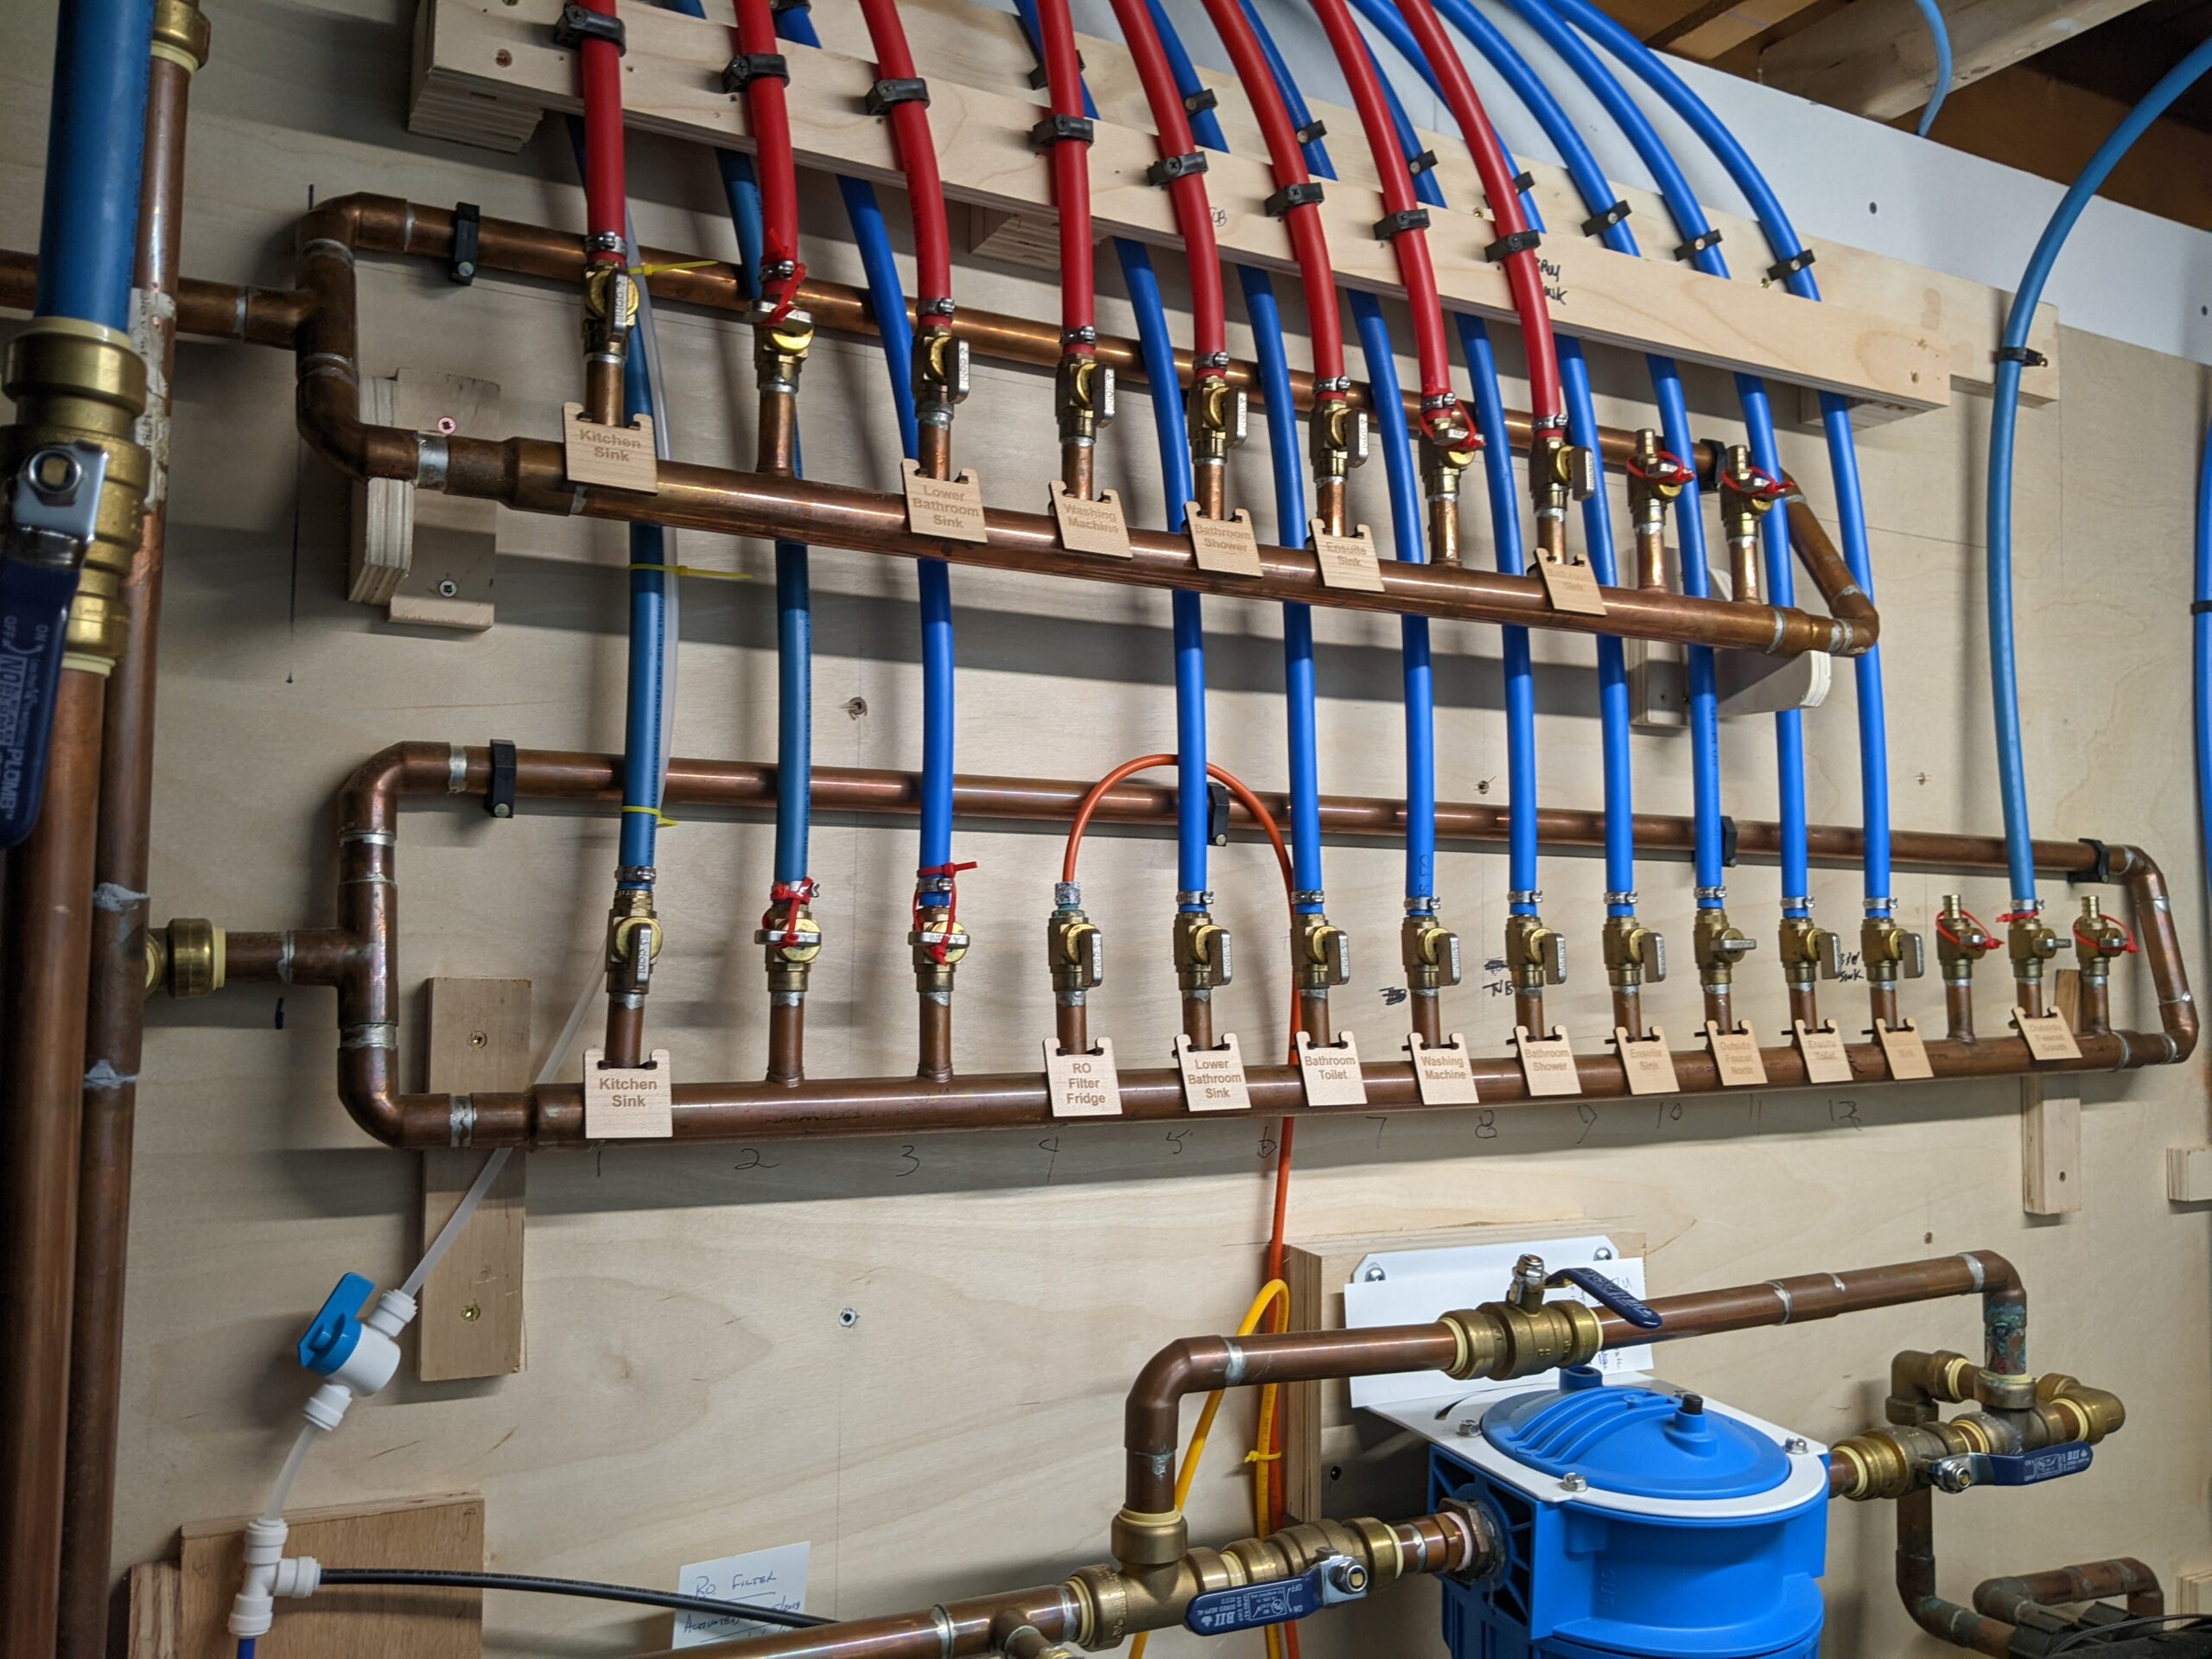
The drawing is from my original design for layout. I used a 10 port manifold for the hot water distribution and a 15 port manifold for the cold distribution. In the actual build, the hot is above the cold. Notice that each manifold has a full loop to maintain equal pressure on all ports. I chose to put the manifold on the bottom of each loop.
It is 1″ copper pipe manufactured with 1/2 inch copper Tees in place. The rest of the loop is made from 3/4″ copper.
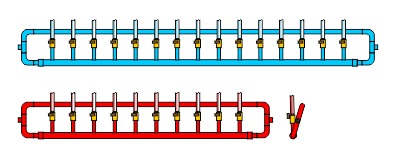
All the lines run up to the ceiling for distribution, and I installed the manifold on a slight angle to give clearance for the stop valves and pex lines—see the red diagram on the bottom right.
Label Design
Label Design 1
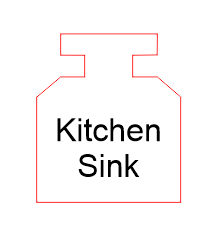
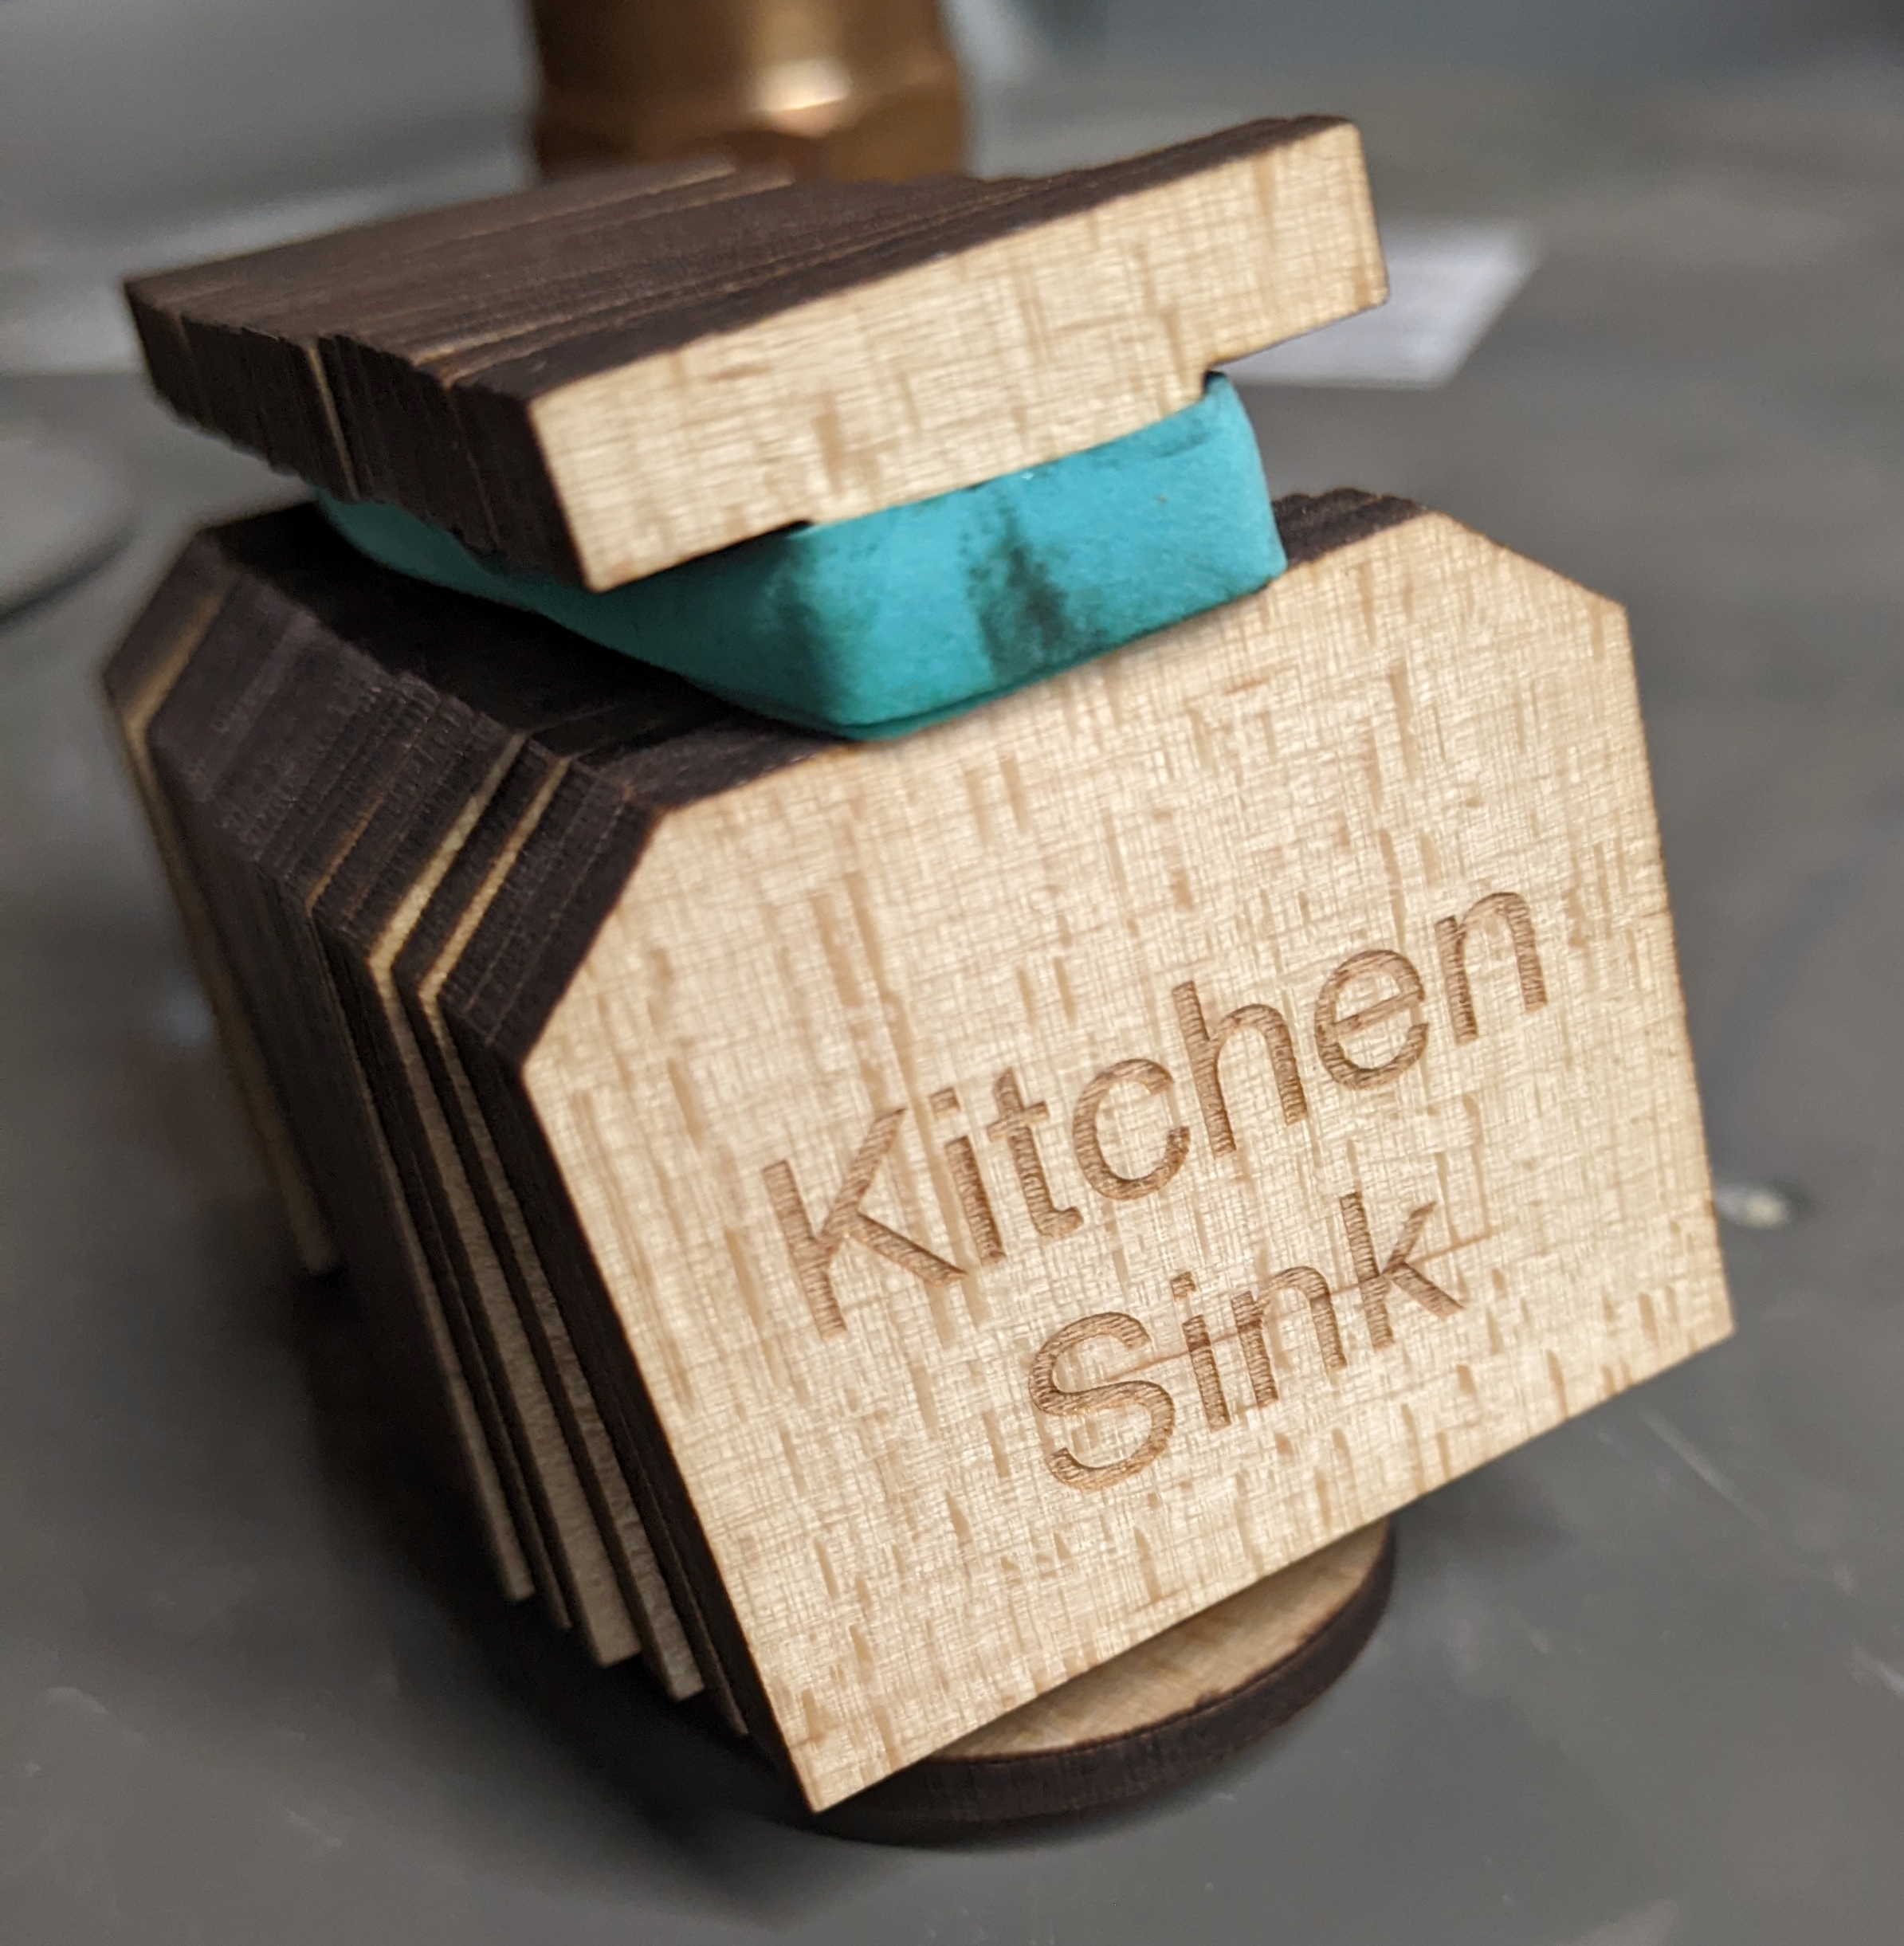
The 1st design was intended to be attached with zip ties. I laser cut and engraved all of them. The zip tie idea was a bit of a pain and they did not align very well, so i moved to design 2.
My very first laser run. Did not throw them out yet.
Label Design 2
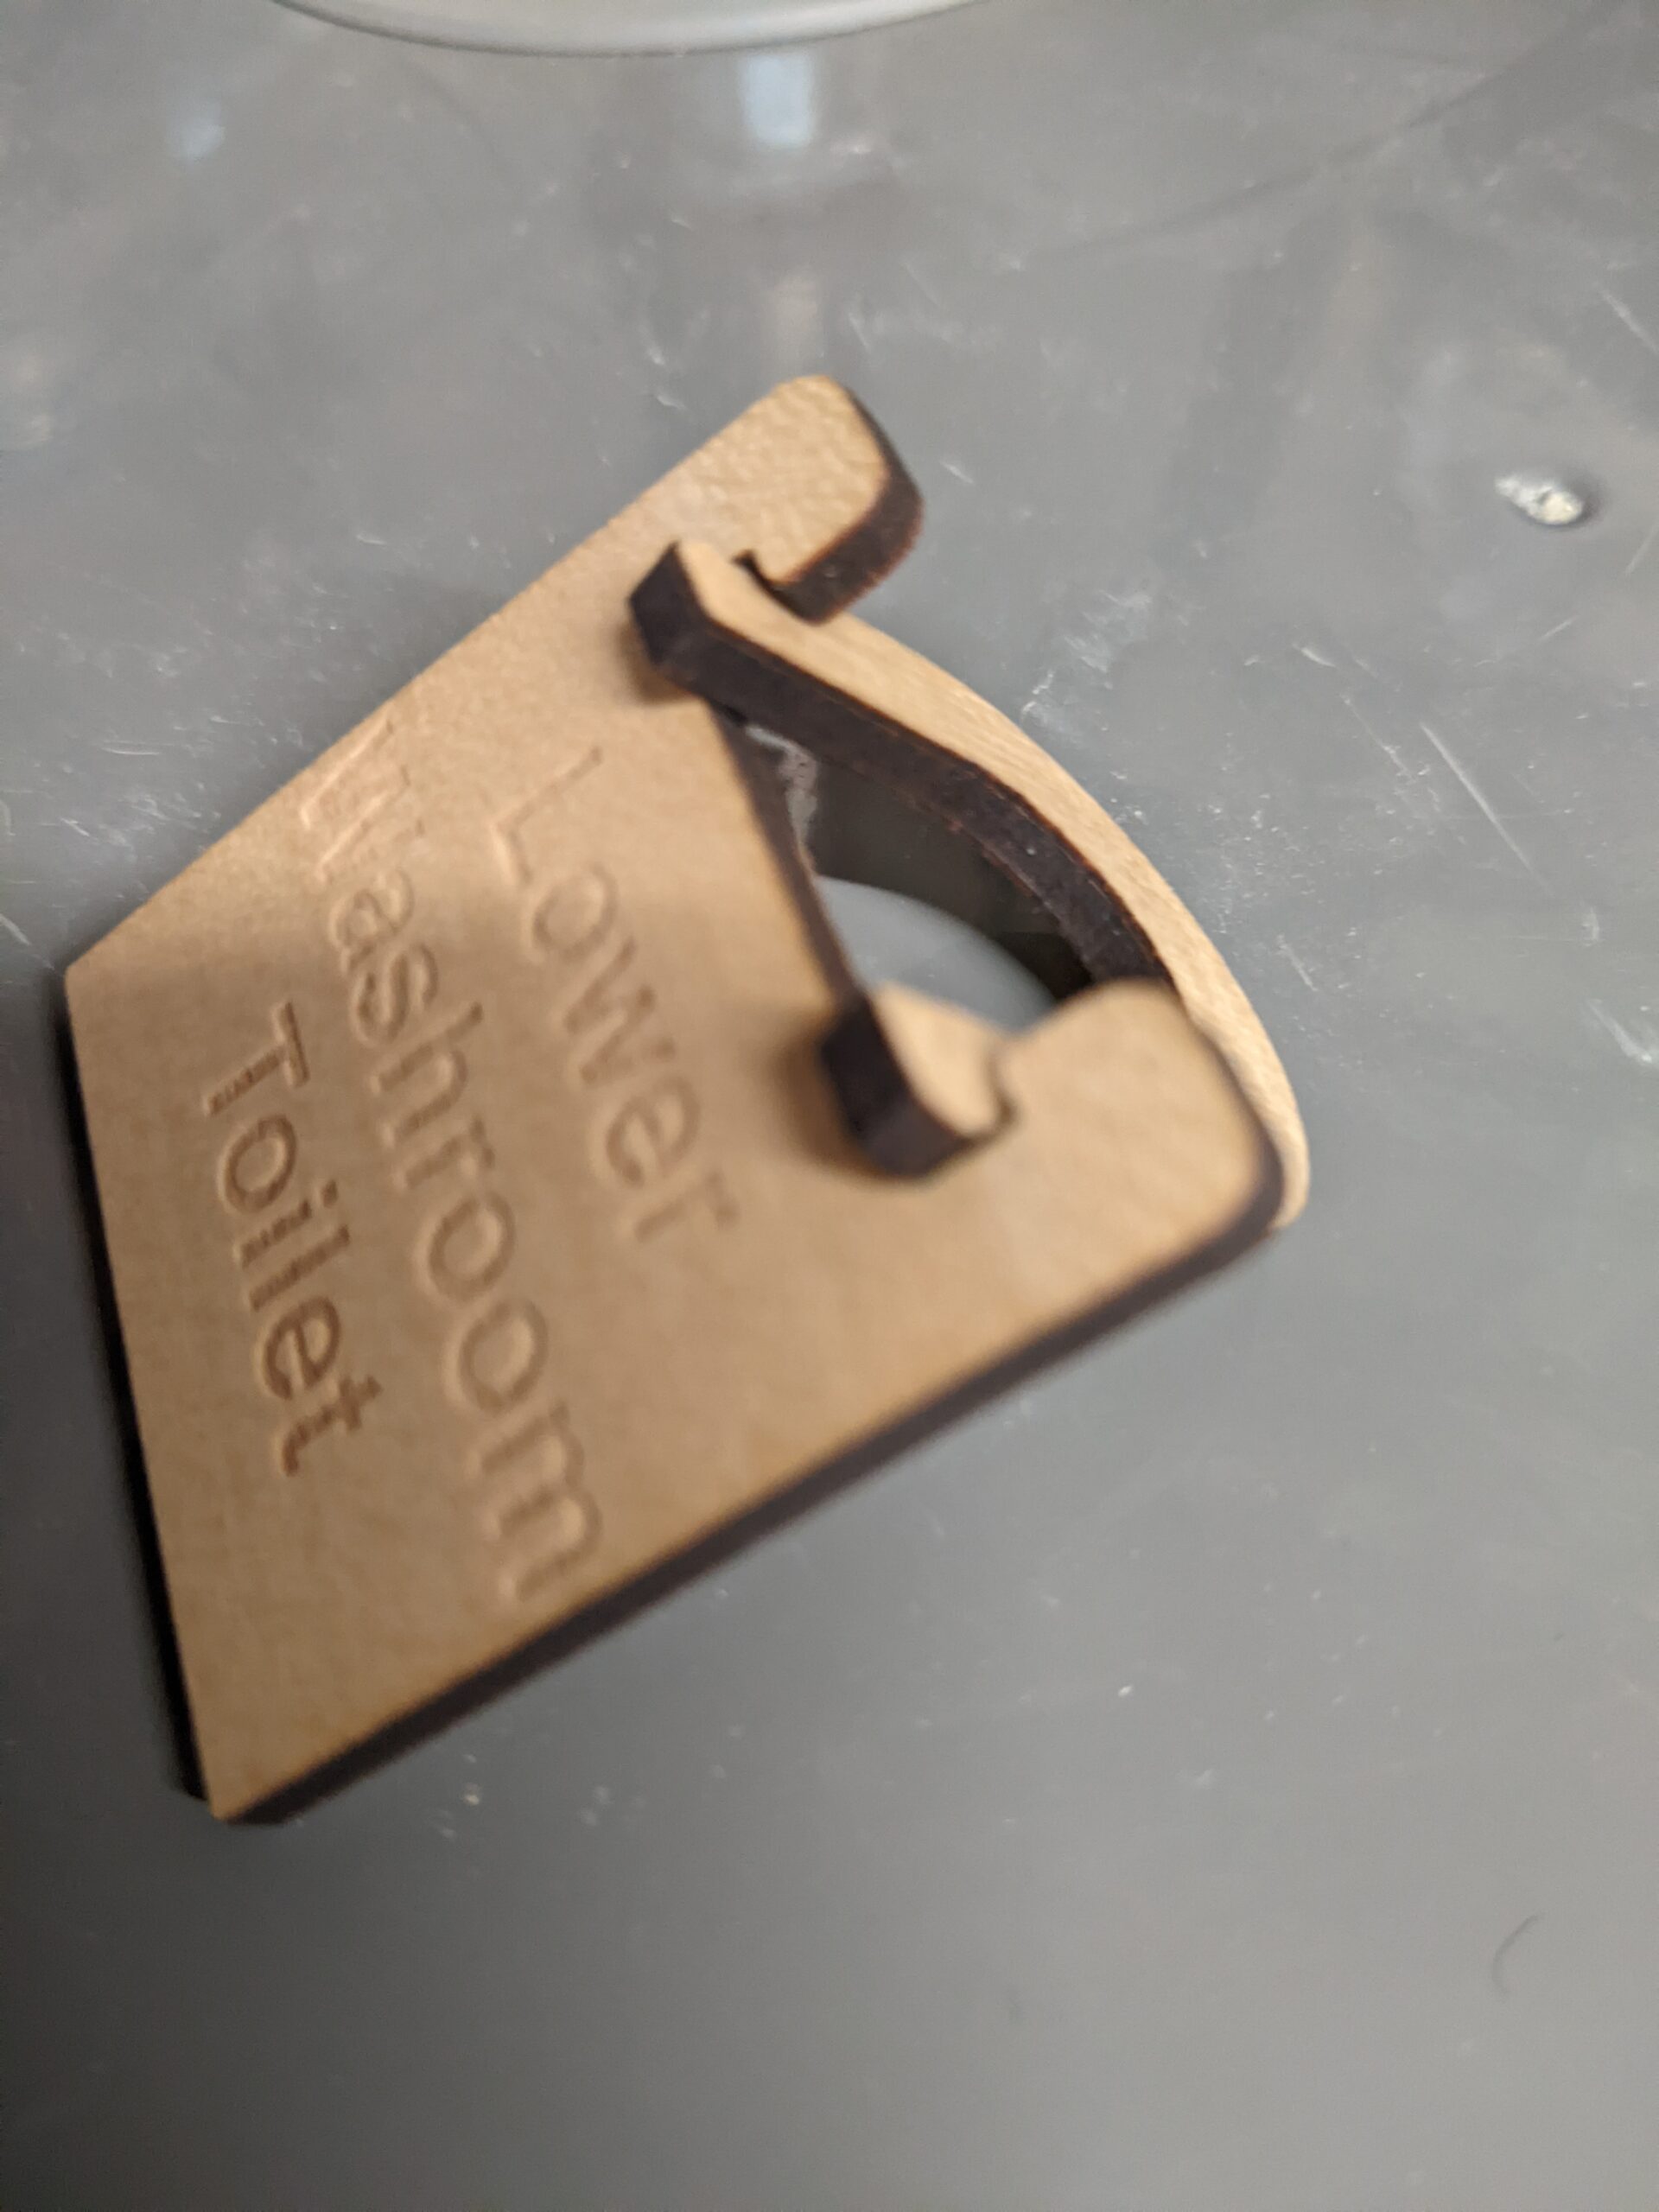
The 2nd design includes a clip for attaching to the manifold. It is a 2-part design.
Notice the little bump on each side of the half-ring. That secures it to the label.
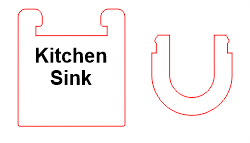
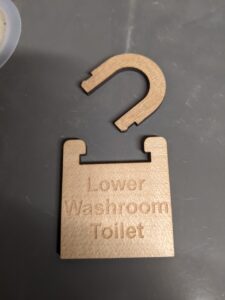
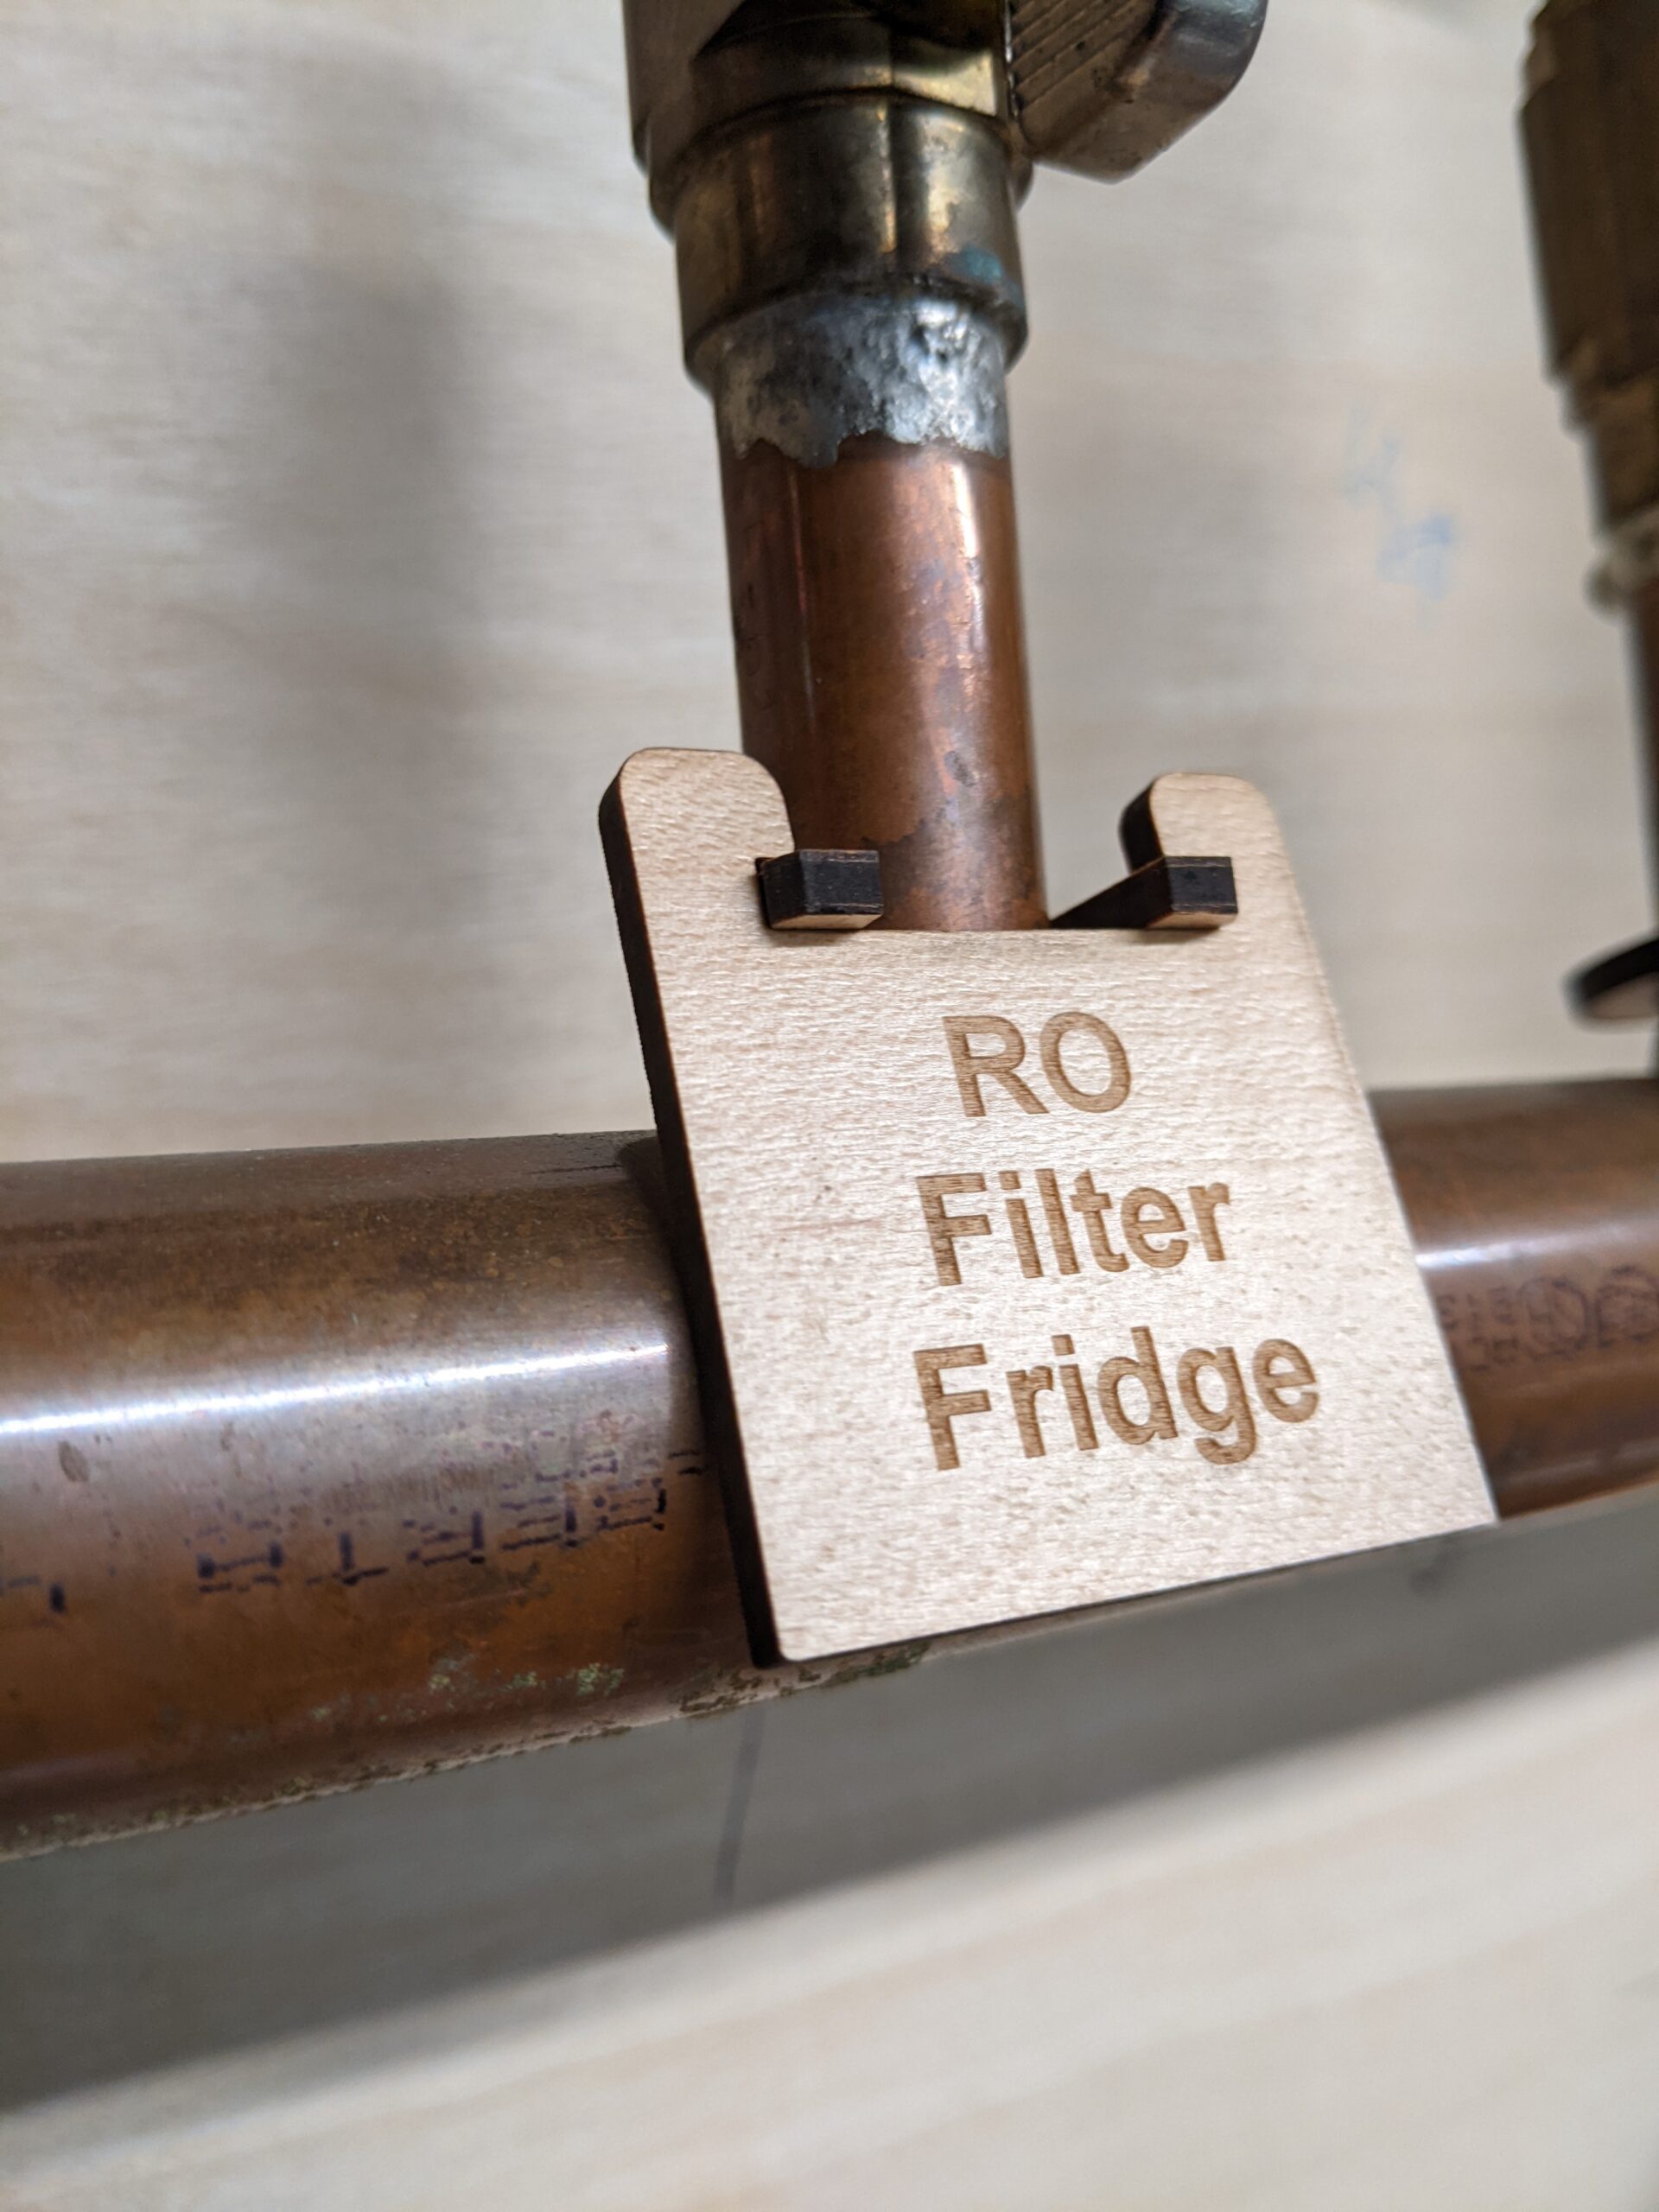
The 1st image shows the two pieces as they attach to one another. The 2nd image shows it on the manifold.
For the soldering literati out there, this instance is working on the principle “more solder, more better”..
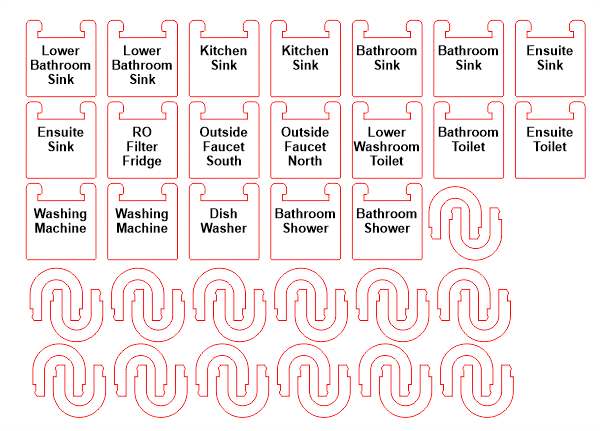
This is the design as sent to the laser. Red gets cut, and black gets engraved.
Manifolds with Labels
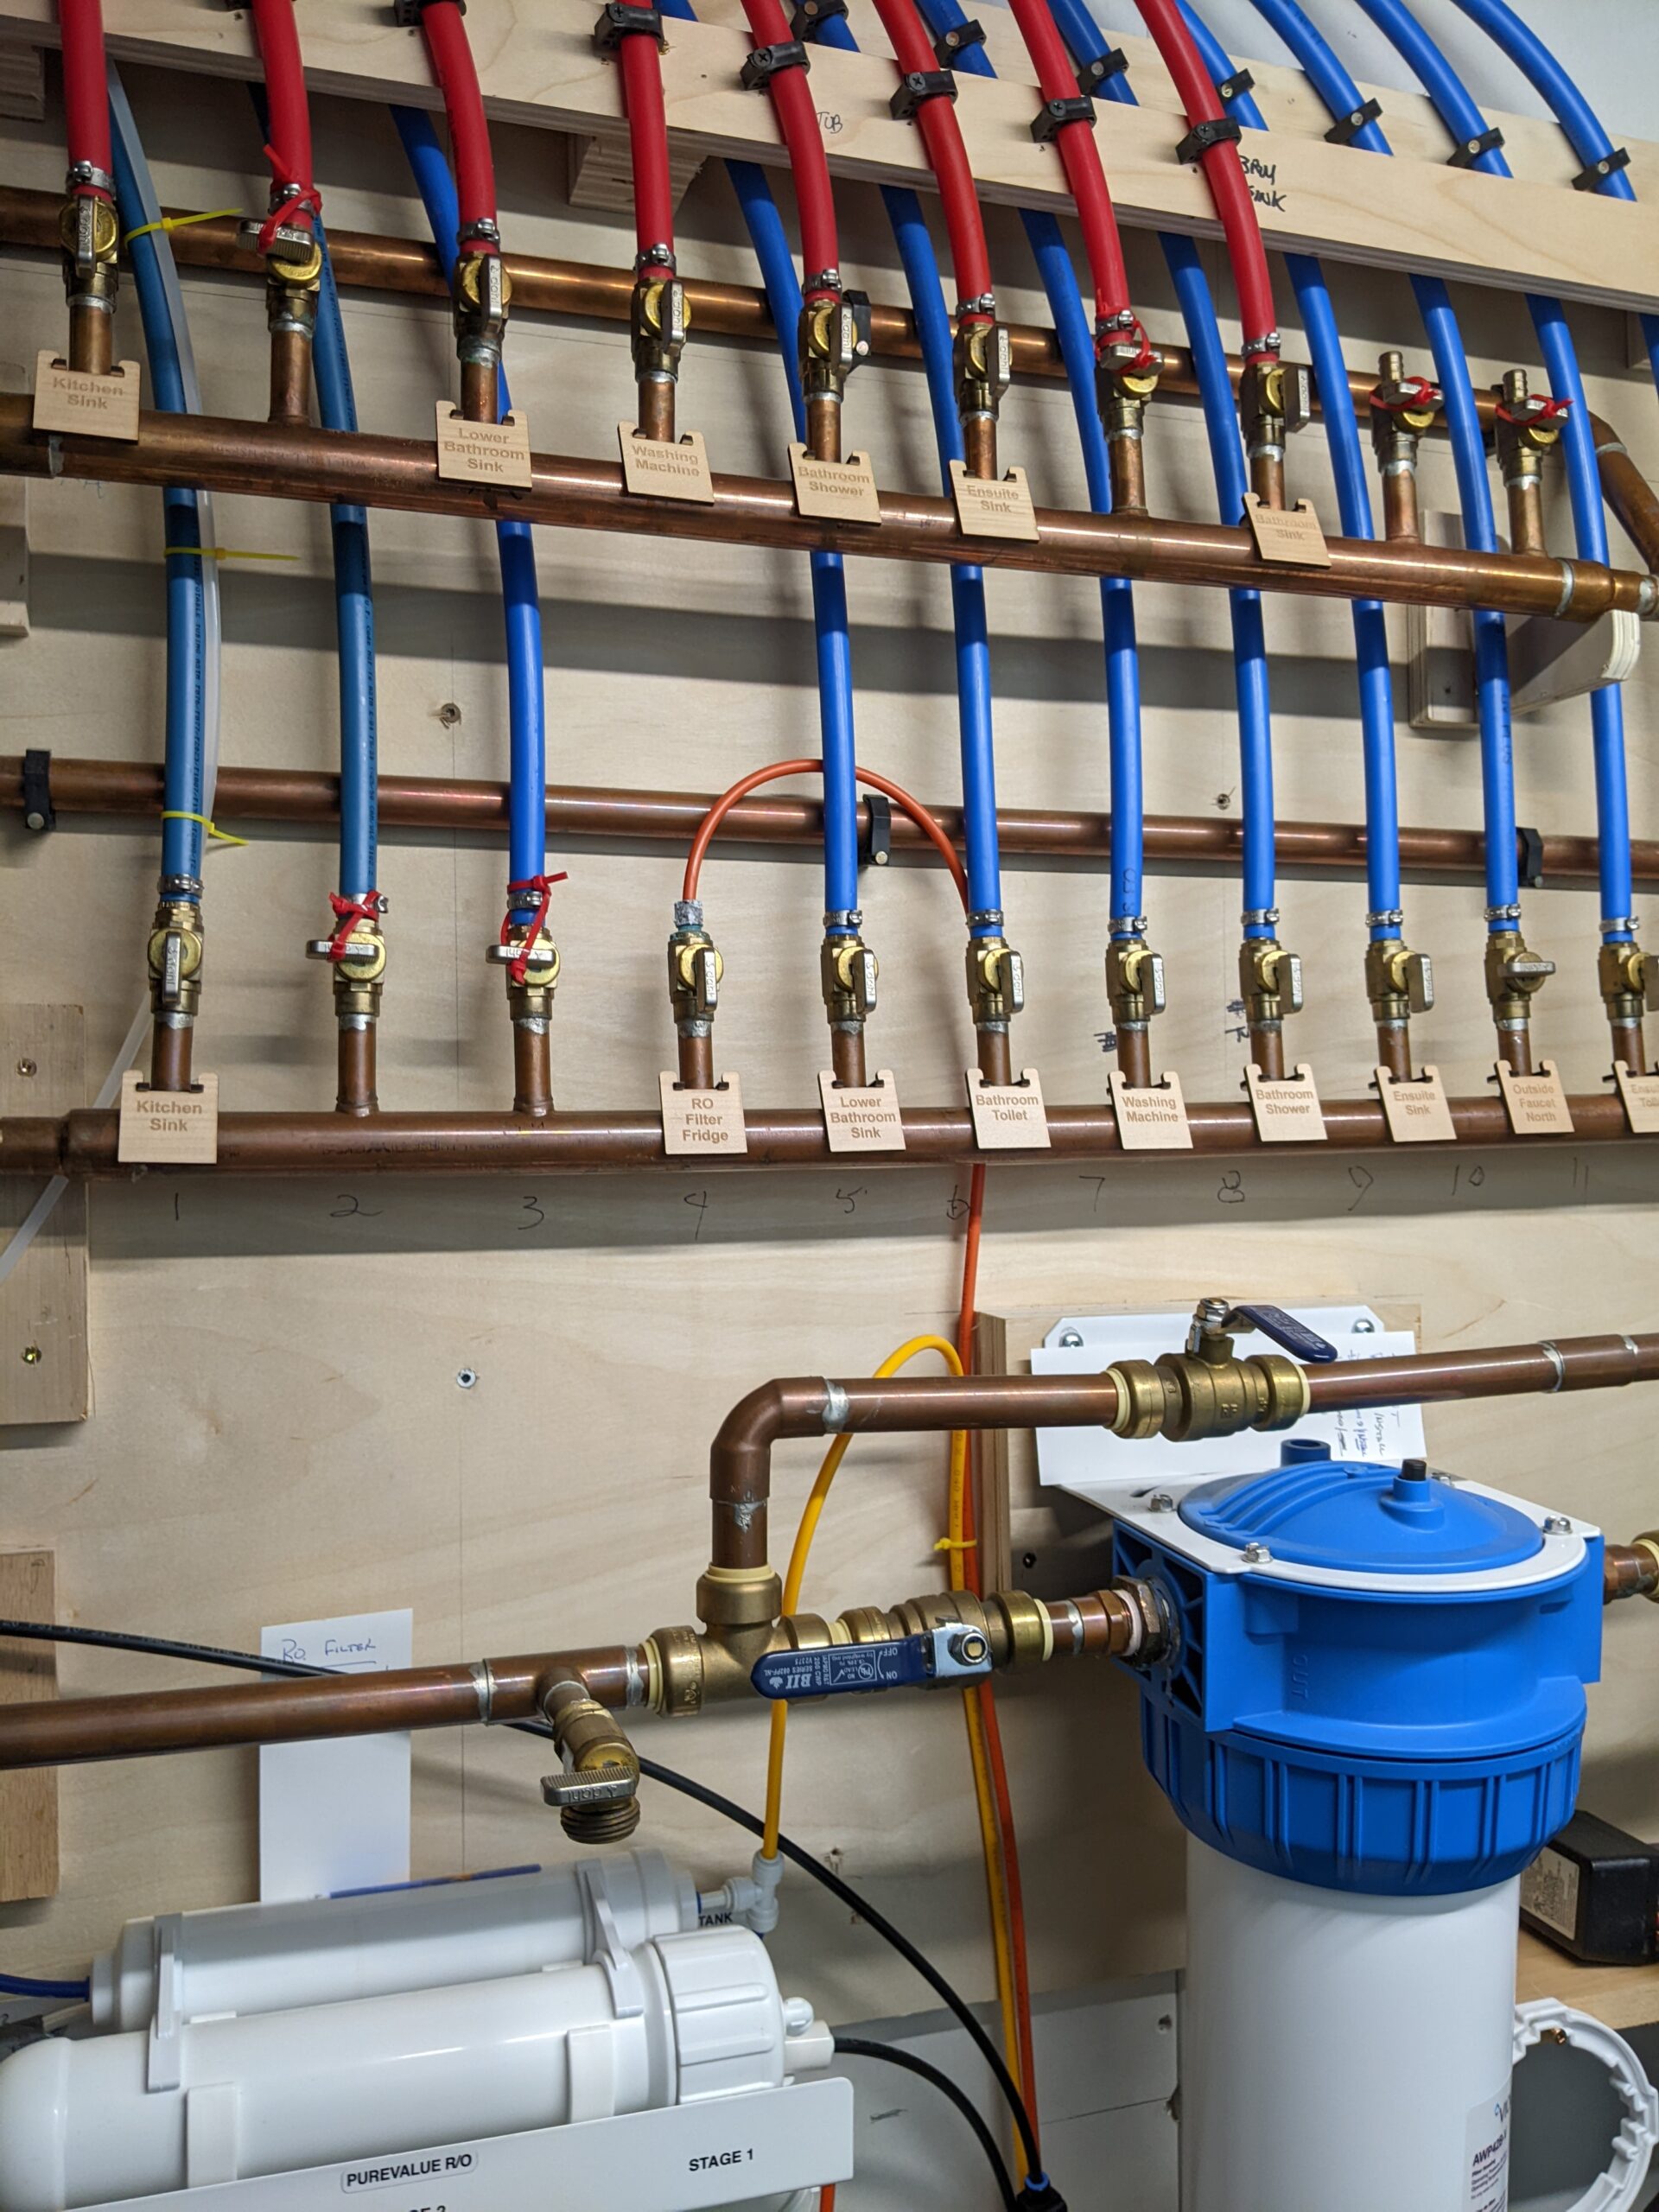
Here are the completed manifolds. As you can see, labels are necessary. You can also see a number of ports with no water line, and some with pex attached, that have red zip ties on the stop valves. They are waiting on future renovations to the basement. I tried to accident proof them by zip-tying the stop valves in the off position.

0 Comments