The Rayjet50
About the Laser
I bought the Rayjet50 during the spring in 2020. It is a beast, weighing in at 50 Kilos (110 lbs). It has a 30 watt CO2 metal tube laser. No water cooling necessary—instead it uses fans to cool the laser. That was one of the reasons I choose it. My intent was to put it in my unheated workshop.
This is a high quality machine. Moving parts are fully enclosed and protected. It conforms to all safety and electrical standards, and has robust interlocks to prevent it from operating if it is opened.
It can cut/engrave all the normal materials for a CO2 laser, within the limitations of the laser’s power. Unlike a glass tube, it seems you can run the laser at 100% power with no issues. It came with samples of a number of the laserable materials that they sell.
The working envelop is 18 by 12 by 5 inches. The lens is protected inside the x-axis mechanism so it will not hit raised material. In fact, the lens and mirrors are all well protected from dust and vaporized material, reducing the frequency of cleaning. The lens and final mirror do not need tools for removal and cleaning. There is a built in red pointing laser and a blower aimed at the cutting point. There is no included dust and fume extractor.
The back and side views below show two large boxes attached to the main case. The top one houses the laser tube and the lower right one houses some of the electronics, including the USB connector.
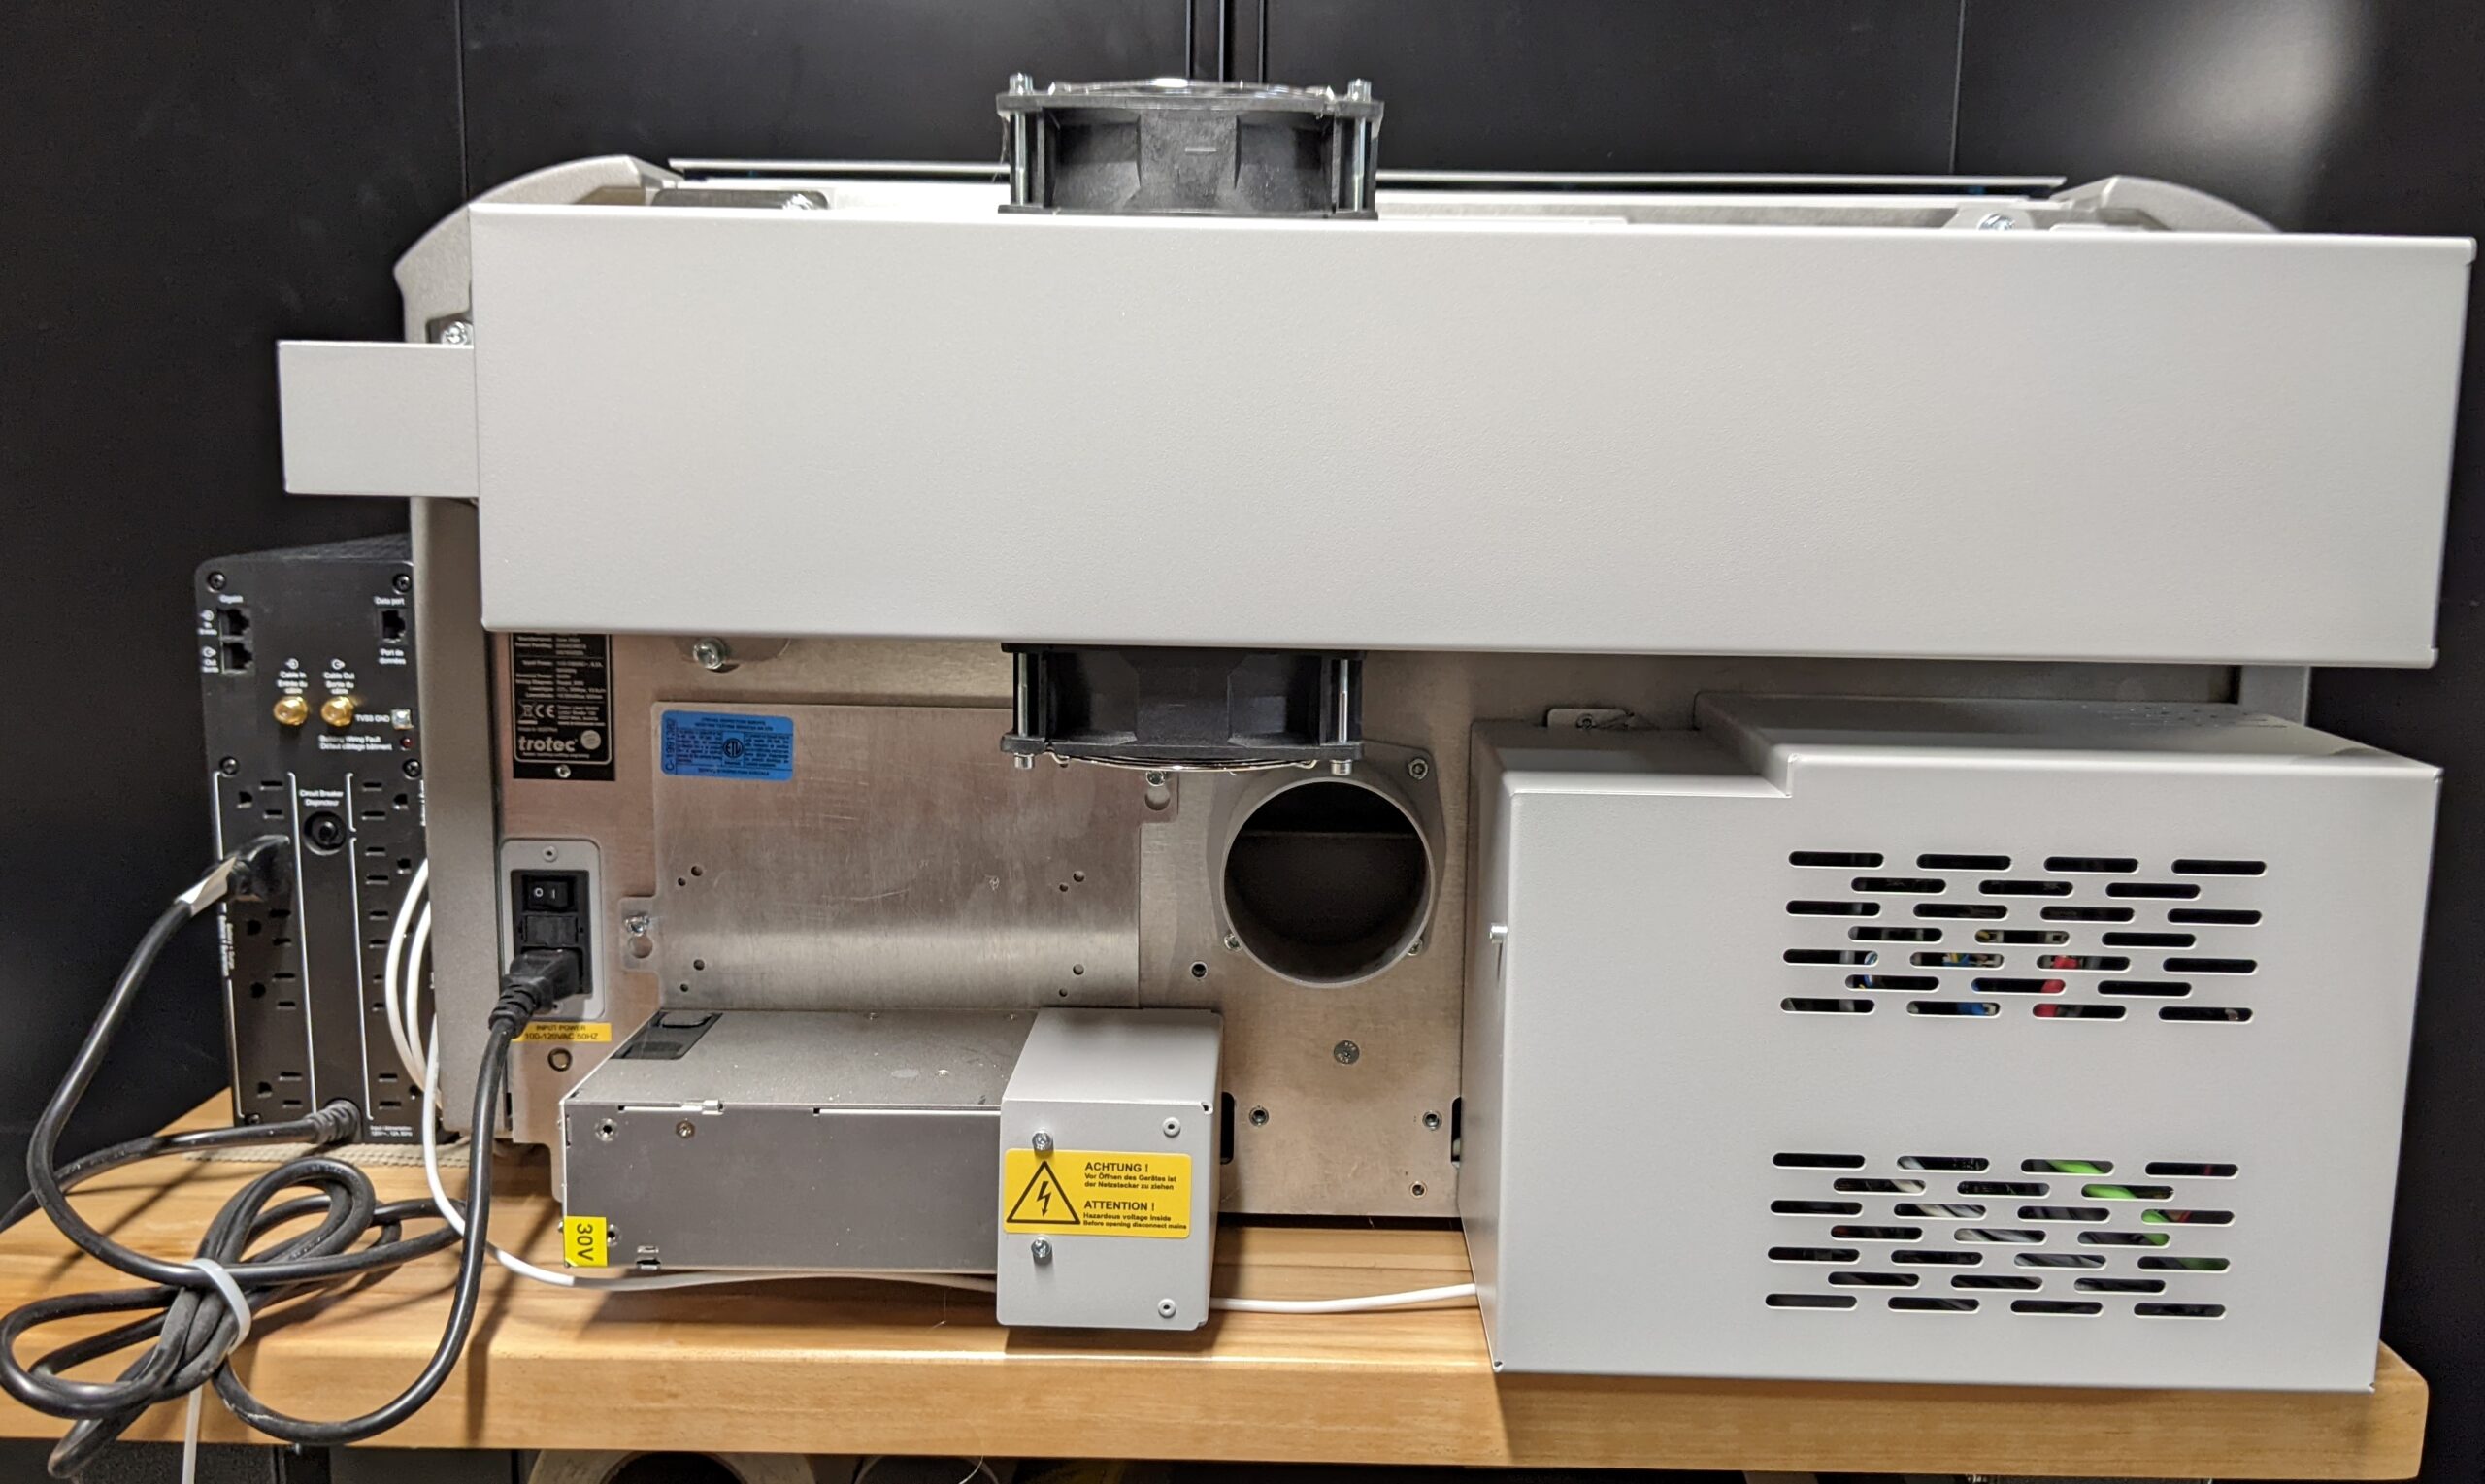
Rayjet50Back
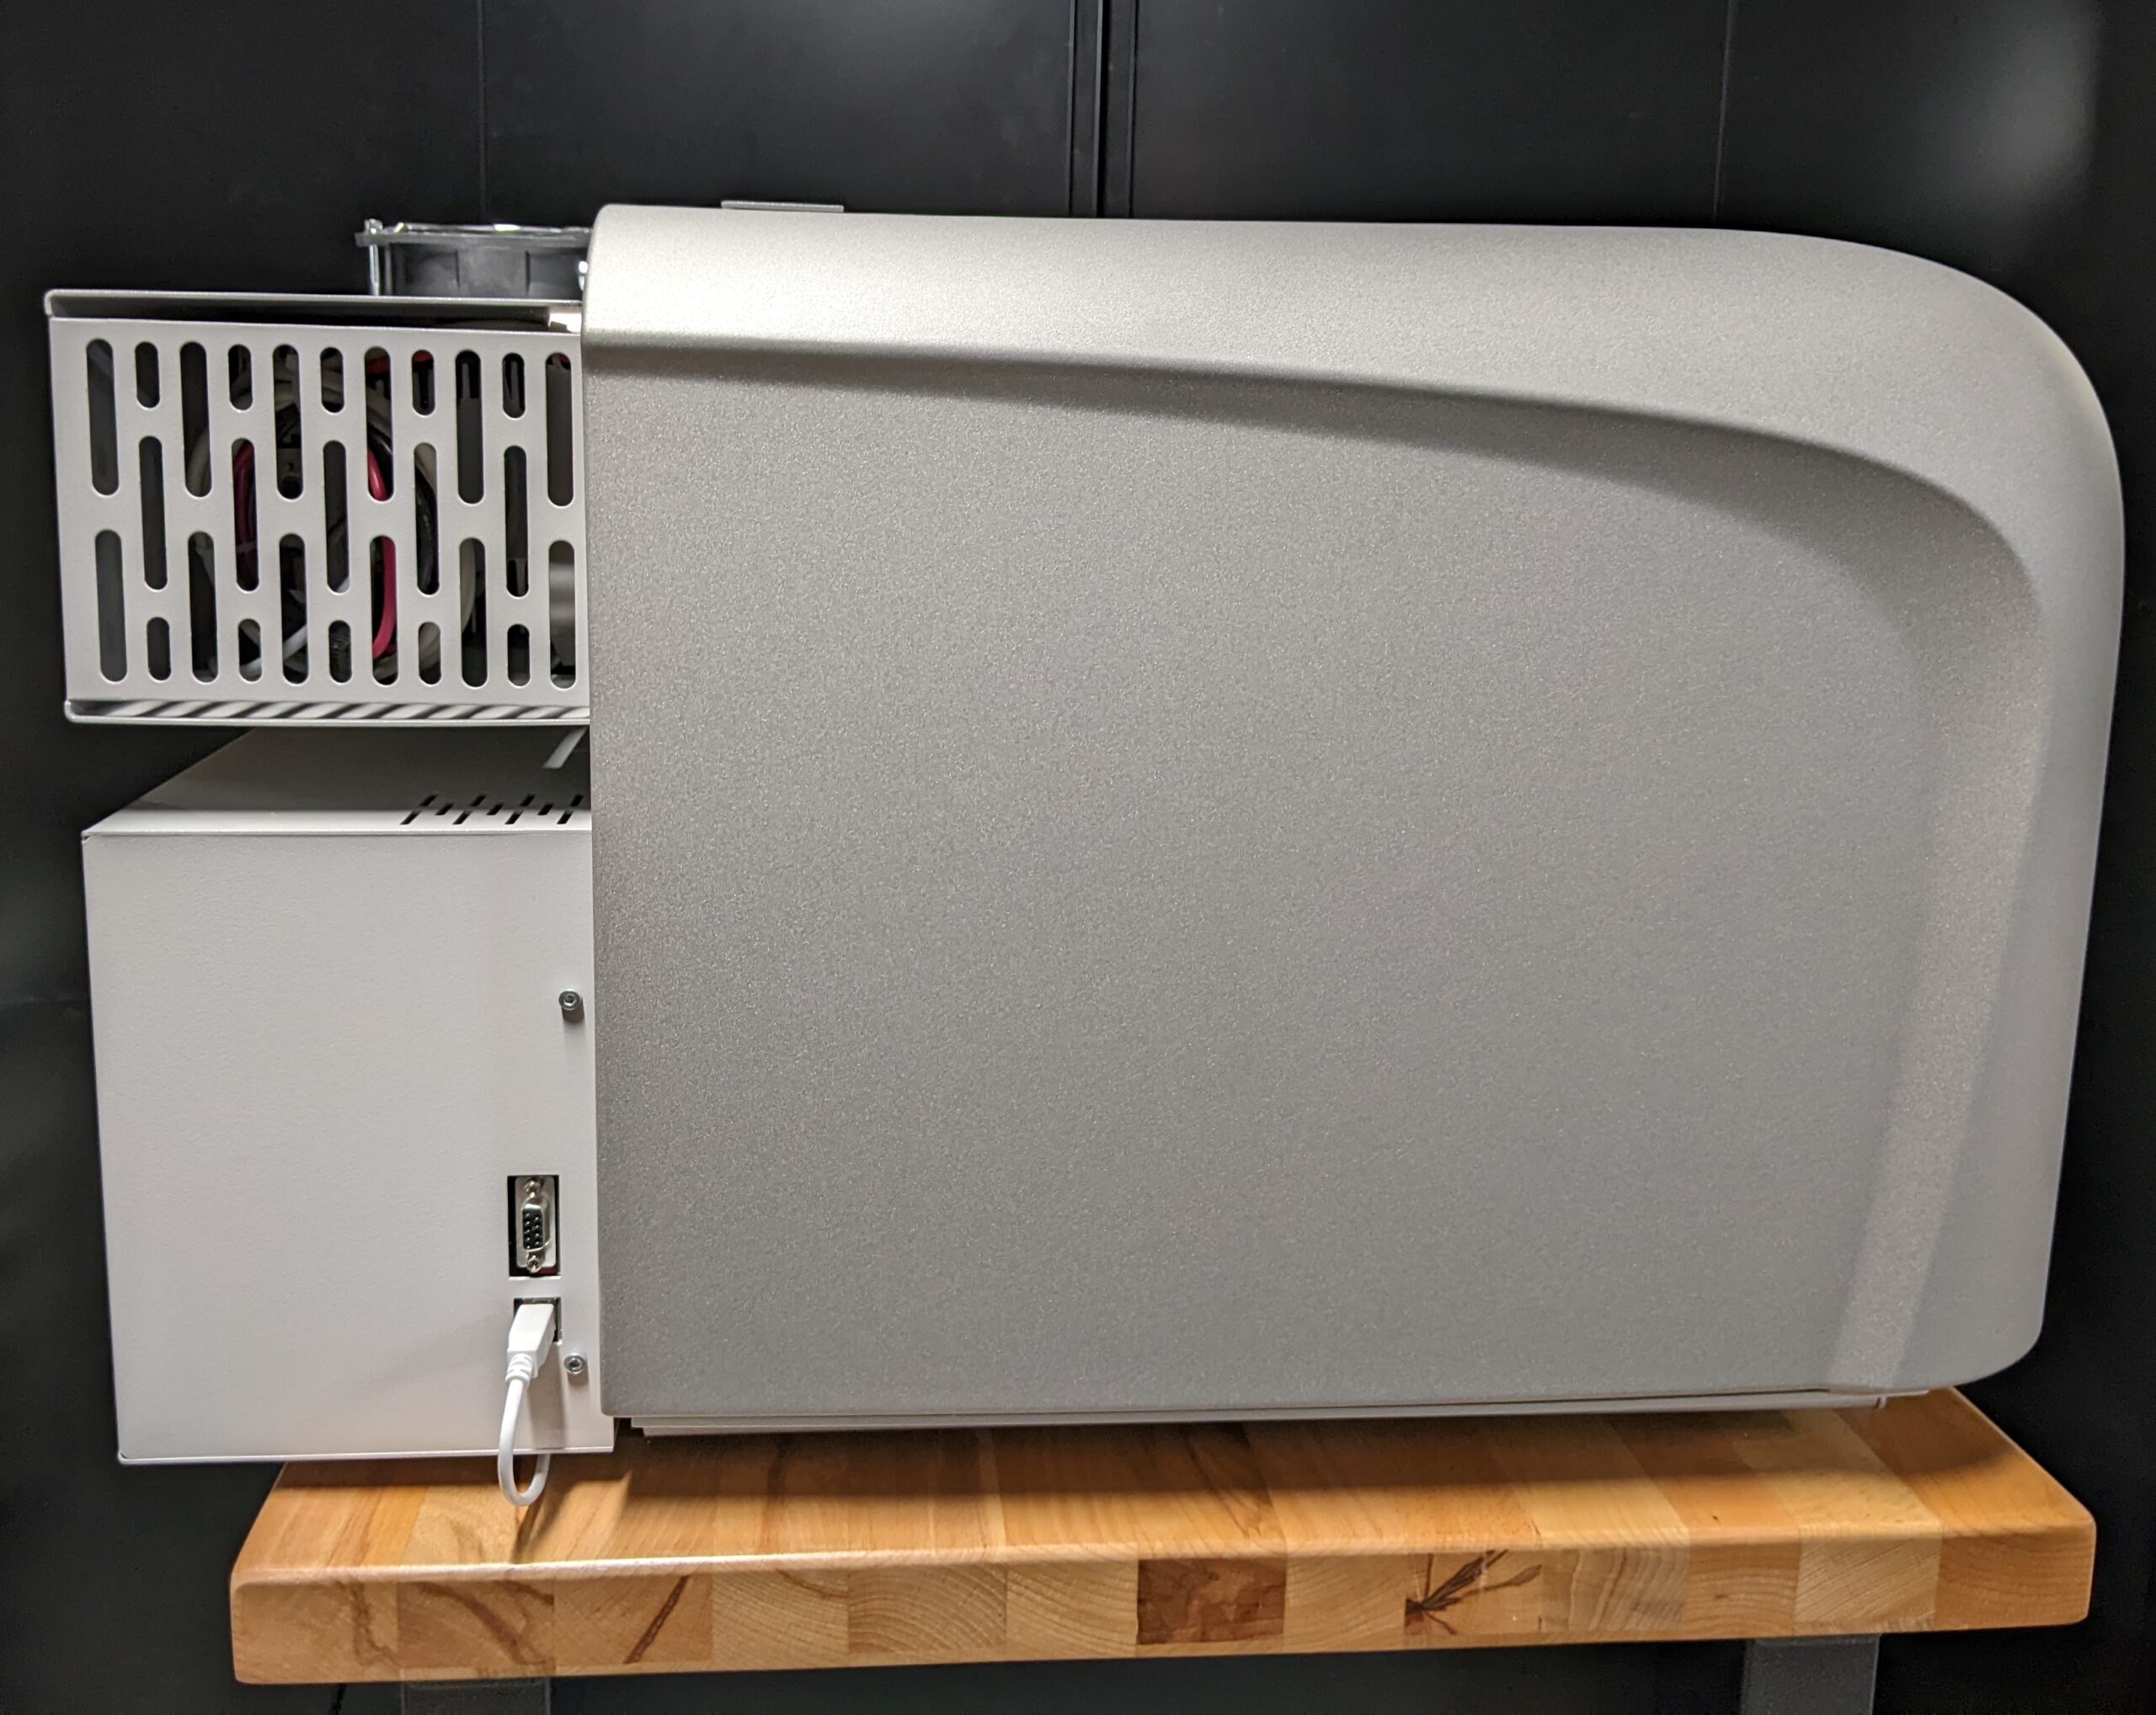
Rayjet50Side
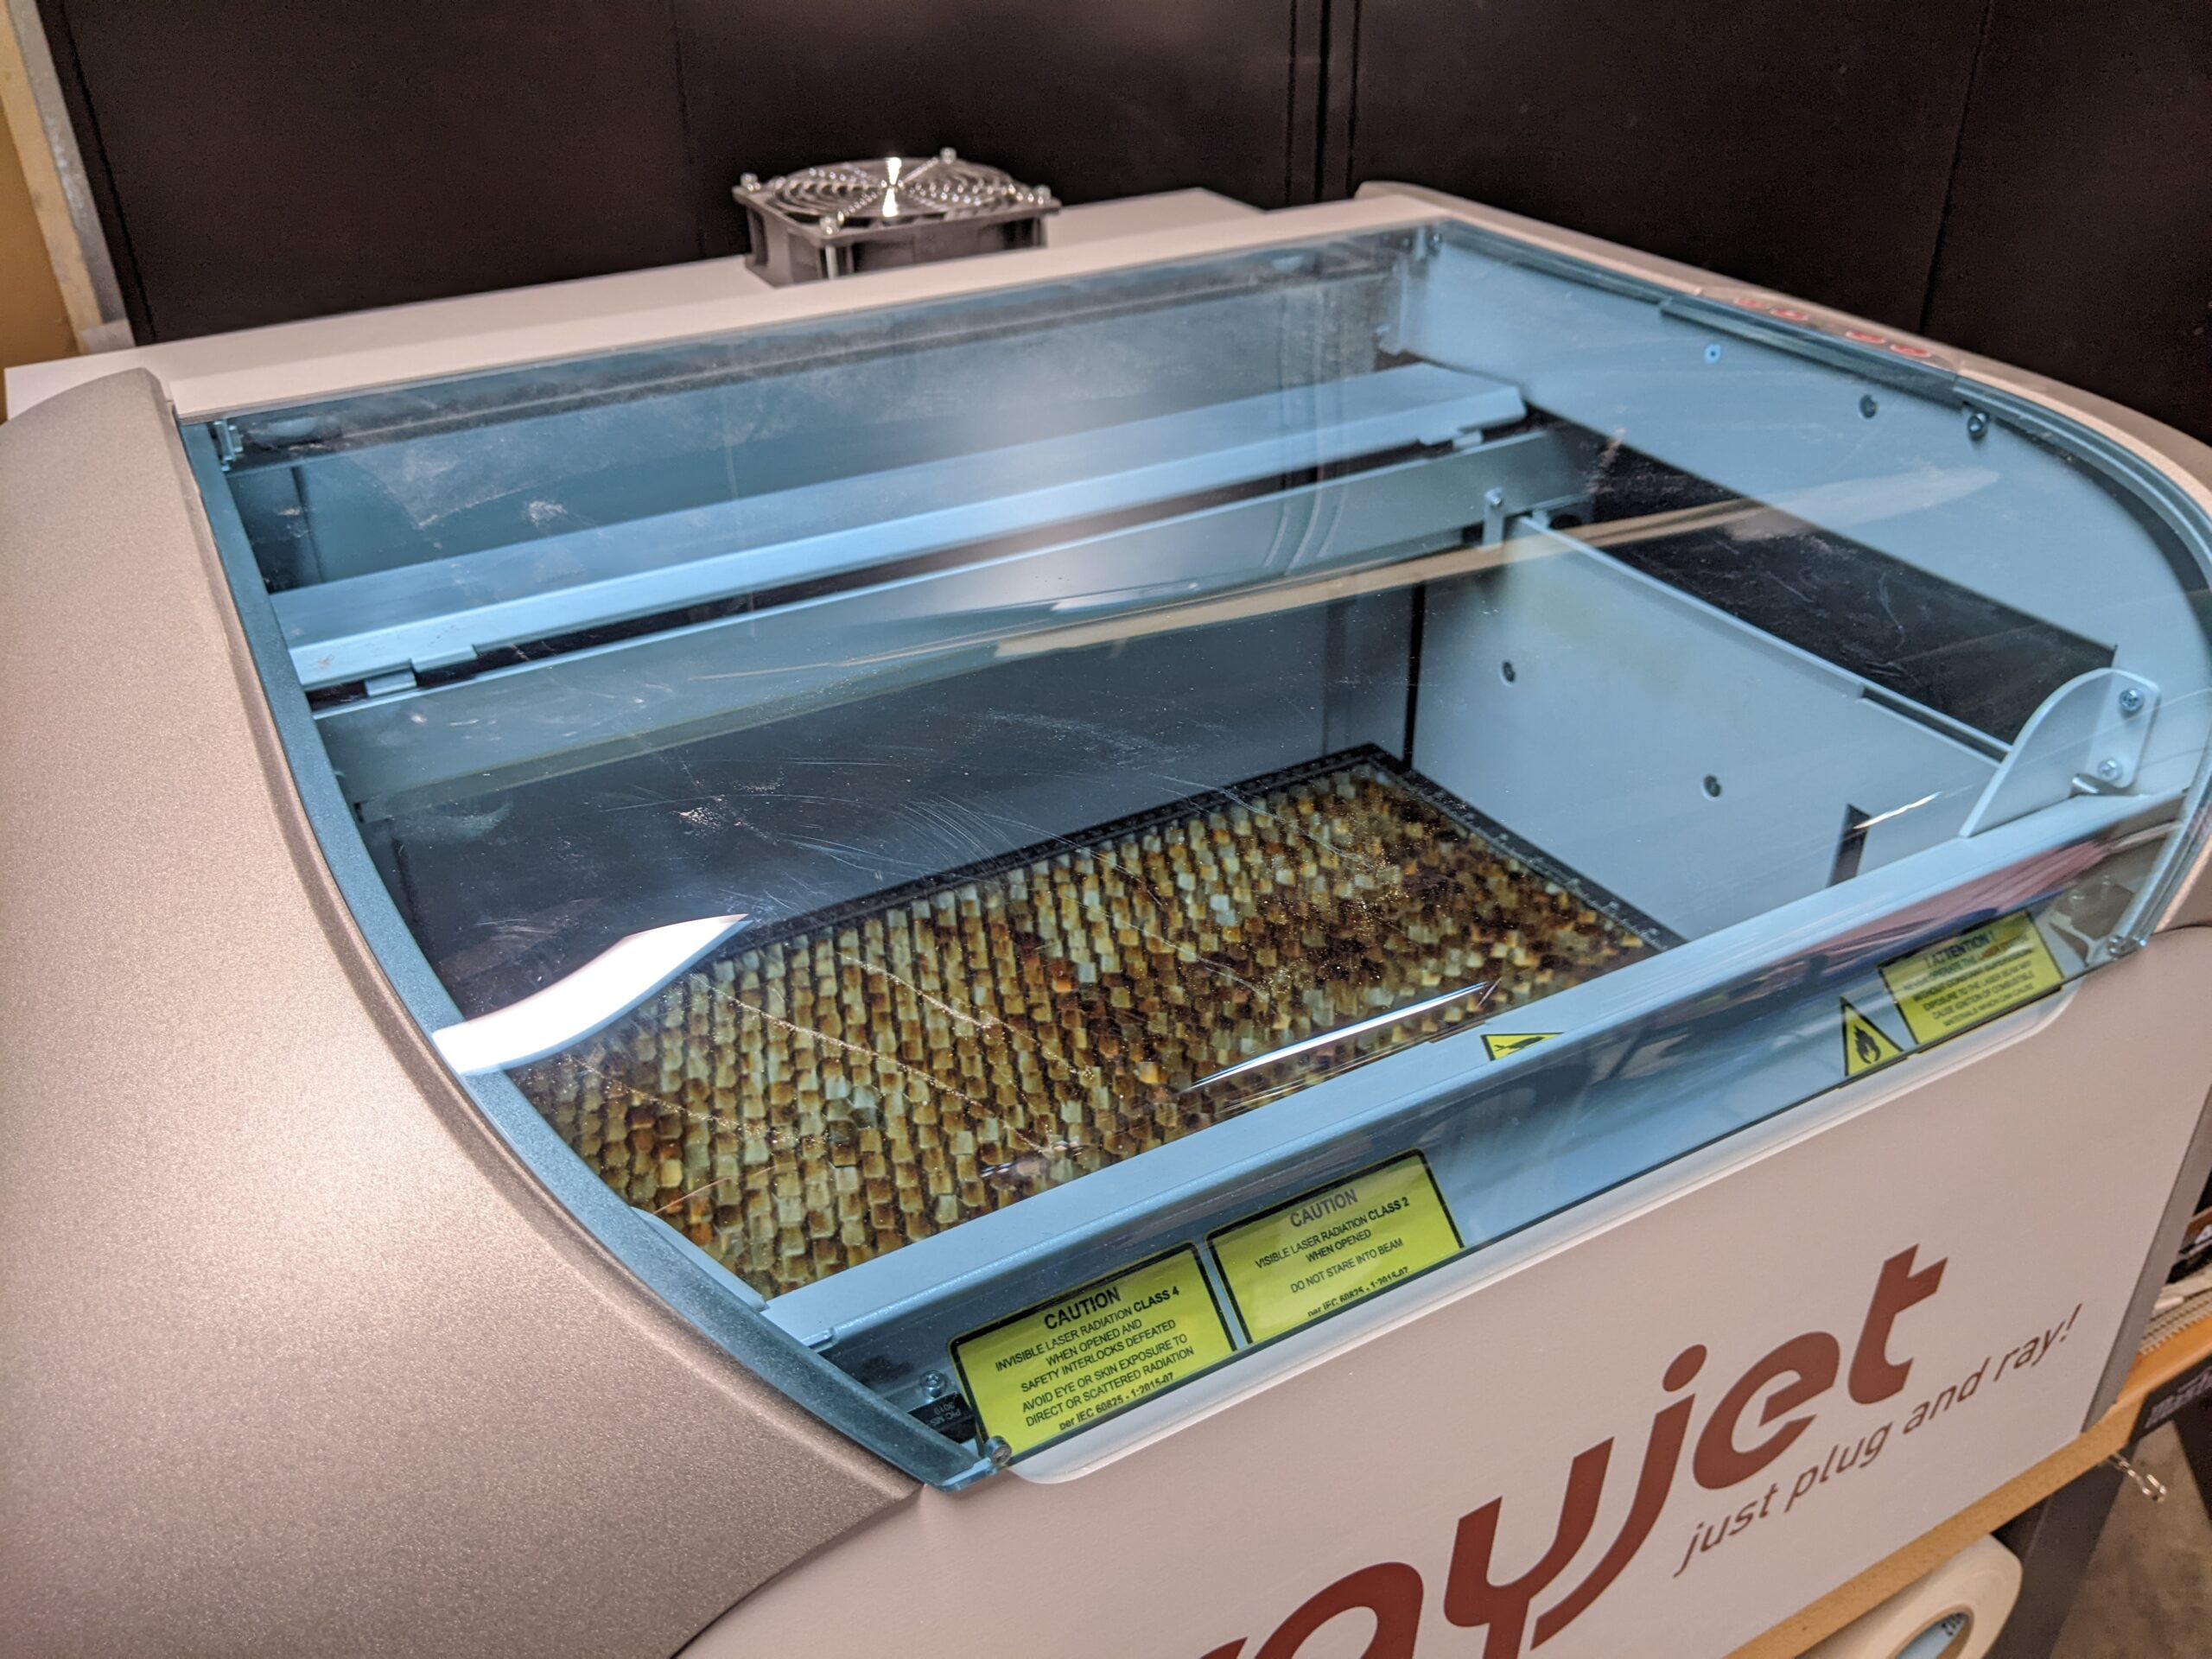
Rayjet50Top

Rayjet50
Rayjet50 Laser Cutter-Engraver
Initial Setup
The Stand
I did not buy a stand with the laser so my first step was to get one. I bought a very sturdy table with a wood top, steel legs, a bottom shelf, and heavy duty castors. The laser just sits on top. It’s a bit high, but serviceable.
I bought it at Canadian Tire. It’s called the Mastercraft Heavy-Duty Work Table. It can carry 340LB (154Kg).

Storage in the Stand
I buy some sheet stock for use in the laser (more on that in a future post). Even the precuts I buy from Trotec are too big, so they need to be cut down.
I got tired of trying to keep track of all the materials, so a few months ago I decided to build a storage cabinet, which you can see in the picture. It accommodates stock 18 by 12, with a larger space on the top right for odd shaped things. It is built from 12 mm import birch ply. Assembly is simple butt joins with glue and brad nails. There is a full back panel fastened the same way.

A few coats of (almost) colour-matched paint and it was inserted into the table base. For strength it was screwed to the legs on both sides.
Fume Extractor
I consulted my salesman, Mile Clarke, at Trotec Canada about an appropriate system. He advised to go with a 400 CFM dust collector style machine from Busy Bee Tools. I’ve owned and used a number of dust collectors and thought that might be too loud so I asked if there was a quieter option. He directed me to the VTX400 from Vortex PowerFans. I bought that and installed it. It worked quietly but did not do as good a job at evacuating the machine as I wanted.
So, I took Mike’s original advice and went back to BusyBee. I ended up with the CX415, which is 1HP, 600CFM. That definitely does the job. Not too loudly, as well.


Uninterruptible Power Supply (UPS)
This machine was a very big investment. I’ve had a few electronic devices fried by errant voltage spikes and surges, so thought it best to add an UPS. I have this model in my server rack as well. Its an APC BackUps 1500.

Setting Up Shop
Well, not yet.
For the past year and a half, the laser has not been used a lot. It’s been setup in a temporary location in my basement, waiting on completion of my workshop. The second floor of my garage (28 byt 32 feet) was unfinished and that will be the workshop. It is now fully insulated and dry walled, but not plastered. I have a mini-split being installed later this week, and an electrical connection for it being done in a week or so. I will post about the shop from time to time as i complete it.
As for the laser, I’ve done mostly experimental work, and a few items for family. A few months ago I made a few items for sale, with interesting results. More posts on that in the next week or so.
Throughout that process, I’ve been in communication from time to time with Miguel Michado at Trotec Canada about techniques, laser settings and the like. He has been most helpful. He is a regular on their YouTube channel.
0 Comments